Layers and Foreground Interest In Landscapes For Better Photos
This article has everything you need to know about how using layers and foreground interest can instantly enhance your landscape photos.
Ever stood in front of the most incredible vista and clicked away only to find that your photos just don’t do the scene justice?
Your subject is clear, you’ve followed the rule of thirds, yet something is missing.
It could be that you just don’t have something interesting in the foreground to draw the viewer’s eye into the scene and add depth to the photo.
With a few simple tweaks, you can easily change this to get better images.

A Note on Composition
Just before we get into foreground interest specifically, I just wanted to touch on how important composition is in landscape photography.
Composition is basically where you place the elements of your scene in your photo. It’s one of the key ingredients to telling a story with your image.
To quote Photography Life, Composition is “simply the arrangement of the elements in your photo.”
It’s often argued whether light or composition is more important for making compelling images, and there’s no simple right or wrong.
As far as I’m concerned, both are game changers when it comes to taking an image from ok to great.
You can have great light, but you’re not telling a story with your composition, then the image will just be ok.
The same with composition. You can’t always be photographing with great light, but you still can make a compelling image with your composition.
It’s one thing to have a photo that’s perfect from a technical perspective. Your image can be well exposed,
and you have an interesting subject, but it’s the composition that can have a huge visual impact.
There are various compositional techniques that you can either use alone or combine for more interesting images.
This article focuses specifically on layers and foreground interest, but check out this article for more composition tips and techniques:
Layers In Photography
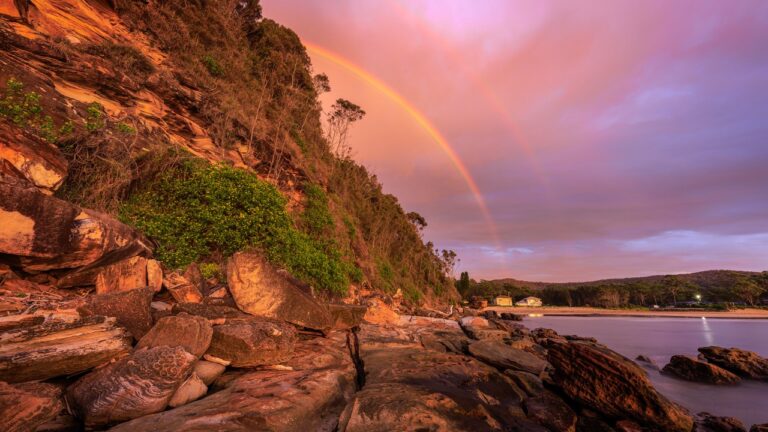
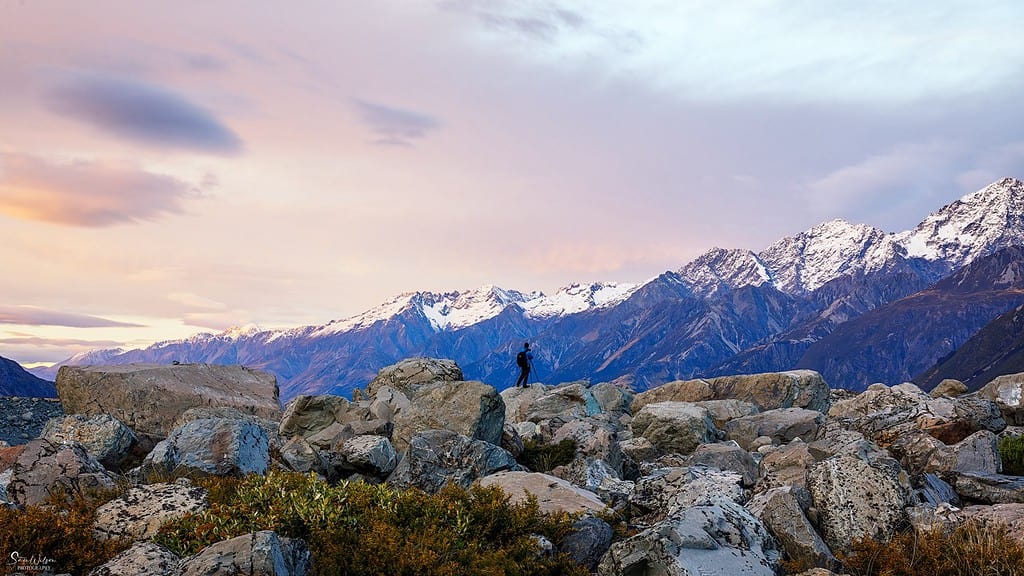
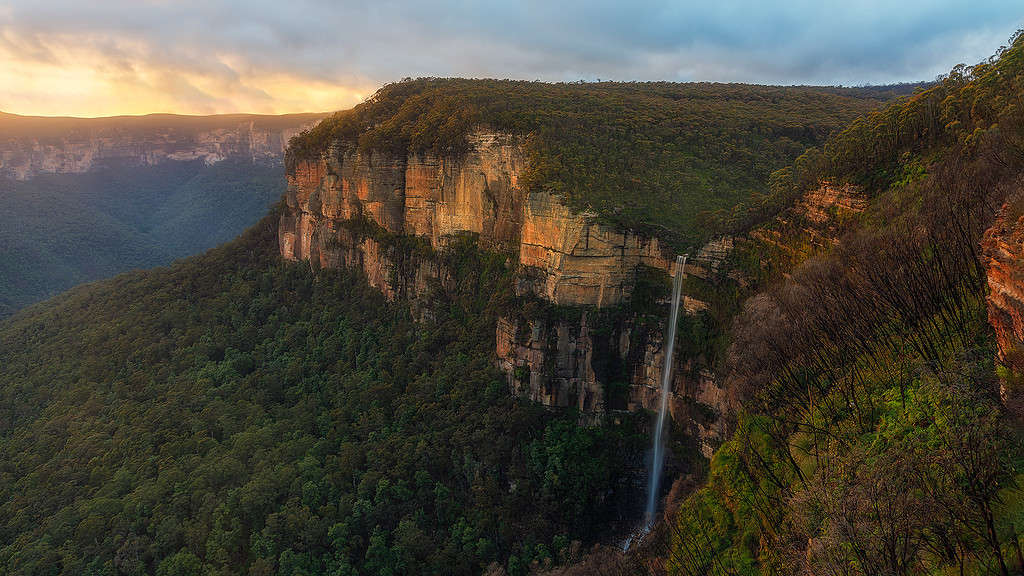
A simple way to understand layers is to think of the scene as being divided into three distinct regions – the foreground, middle ground and background.
The foreground is what is closest to the camera, the background being the furthest away (often the sky) and the middle ground which is frequently where the main subject of your image is.
Good landscape compositions will have layers, or objects of interest in all three regions of the image.
For the background, this can be things like mountains in the distance, or the textures and clouds in the sky. For your middle ground this can often be sea stacks, waves in the ocean, hills, waterfalls or lakes.
What you are then looking for is something in the foreground to create enough interest to help give weight and balance to your image and to lead into the middle ground.
This will help create the illusion of three dimension reality to a two-dimensional photo
And prevent your images from looking flat.
In turn, this will draw the viewer’s eye into your image and help create depth.
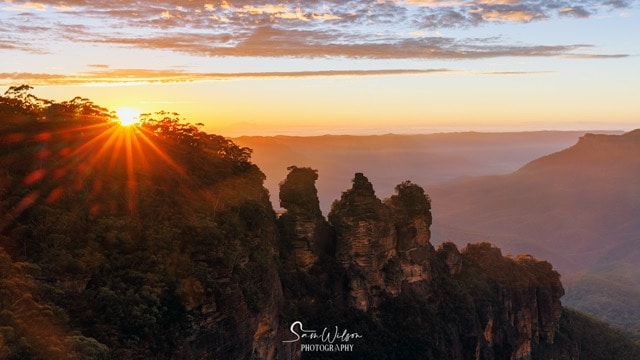
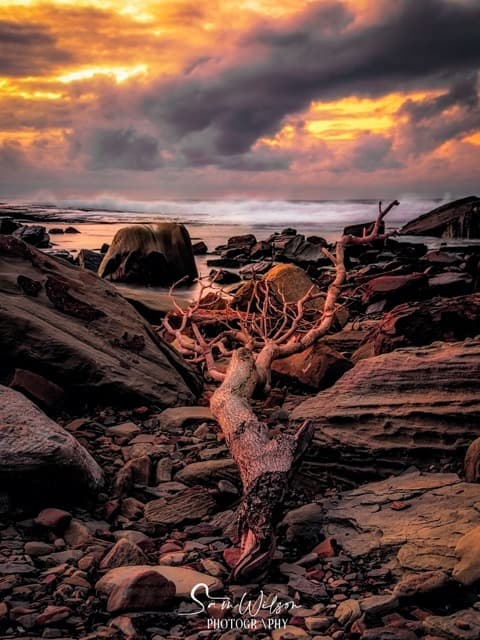
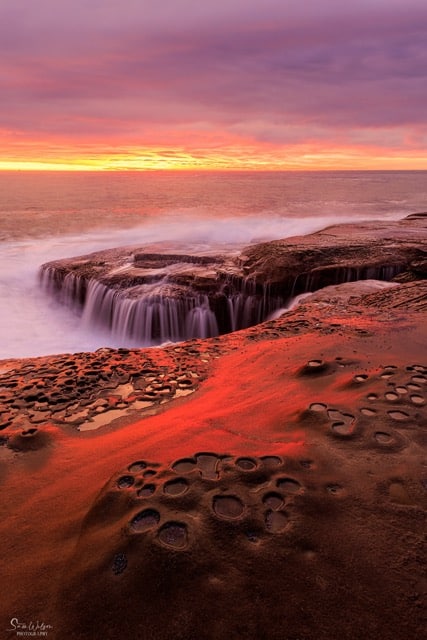
What Makes For Good Foreground Interest?
When you’re out there, camera in hand, finding the main focus for your shot, take a bit of time to really look around. It’s all about spotting things right in front of you that can make your photo pop and tell a bigger story.
First things first, the foreground is what people notice straight away. So, you want stuff that stands out because of its:
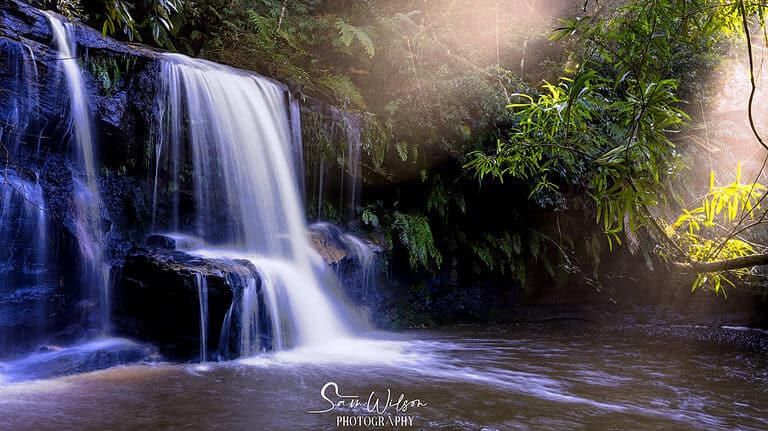
- Bright colours, think flowers or a patch of moss.
- Interesting textures, like the roughness of rocks or the patterns on bark.
- Intriguing patterns, like the way sand ripples after the wind or how water flows over a rock.
- Lines that lead the eye, such as how a branch points towards your main subject or a path winds through your scene.
Getting the foreground right means your photo has got depth and feels more like a story. It’s a sneak peek at the little details that make up the bigger picture.
But remember, it’s all about balance. You don’t want the foreground to take all the attention.
Choose foreground bits that add to your scene, give more context to your main subject, and widen the view for your audience. Because these elements are close up, they’re your chance to show off the fine details that add that extra layer to your story.
Tips For Including Foreground Interest Into Your images
Finding the right foreground for your landscape shots can be tricky. Sometimes, the scene might not lend itself easily to adding a foreground element.
Here are a few tips to help you incorporate effective foregrounds into your photos.

Get Down Low
A straightforward way to bring foreground elements into your frame is by lowering your camera.
This allows you to capture more of what’s directly in front of you, enriching your shot from the ground up.
Lowering your camera angle not only introduces new perspectives but also emphasises the smaller details in your photo, making objects near the ground stand out.
Be mindful of the tripod legs; they shouldn’t sneak into your shot. If they do, you might need to edit them out later.
If your camera has a flip screen, it’ll make viewing your shot easier when positioned low.
This feature is a back-saver, preventing you from bending over awkwardly while you wait for the perfect lighting.
Remember, it’s not just about how low you can get the camera. Always consider the overall composition and how the foreground contributes to the story you’re telling.
The right foreground should enhance, not detract from, your image.
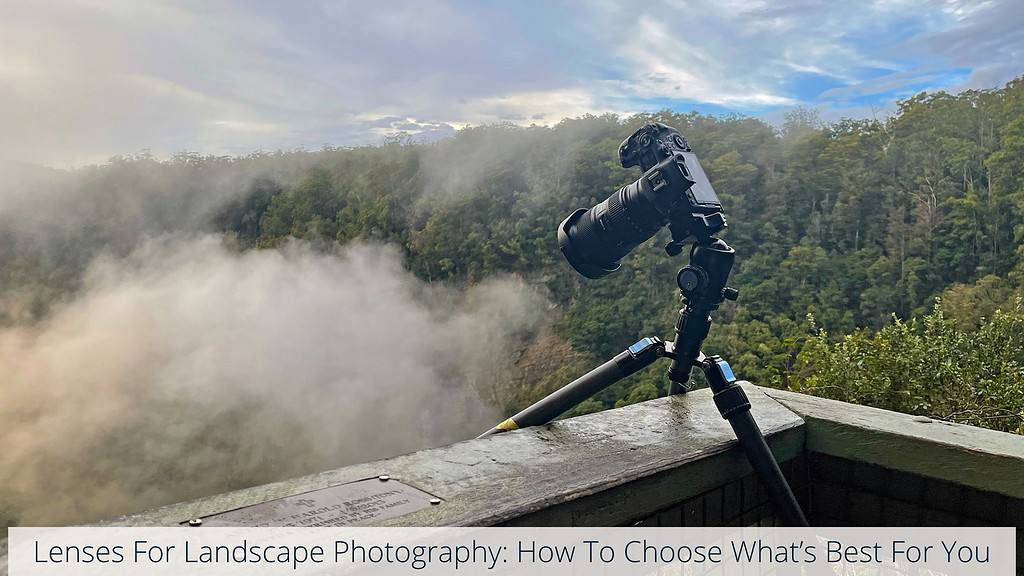
Use A Wide Angle Lens
Having a wide-angle lens can truly transform your landscape shots.
These lenses offer a much broader view than what we’re used to seeing with our own eyes, typically anything wider than 35mm, going down to around 24mm.
I absolutely love my wide-angle lens for landscape images. It’s brilliant for capturing a broad expanse of the scene.
With a wide-angle, you’re not just capturing your main subject but also the surrounding area, adding layers and context to your photo’s story.
Wide-angle lenses excel in bringing the foreground into play. If you’re feeling adventurous, try an ultra-wide lens, ranging from 14mm to 24mm. This gives you an immense field of view, stretching from your feet to the far-off sky.
Just keep a couple of things in mind with wide and ultra-wide lenses:
Just be aware that with wide-angle lenses, distant objects can appear smaller and further away, which might lessen their impact.
Show Less Sky
When you’re framing your shot, it’s all about choosing what makes the cut and what doesn’t.
More often than not, bringing more of the foreground into your picture means you’ll be seeing less of the sky.
It’s key to think about what you’re leaving out.
Make sure you’re not cutting away parts of the scene that could be more interesting or crucial to your photo’s story than what’s in front of you.
Minimising the sky isn’t always the way to go, but if the upper half of your view is on the bland side, focusing on a richer, more detailed foreground can make a world of difference.
This leads us into another handy technique for enhancing your landscape shots.
Look For Leading Lines
Finding leading lines is like discovering natural arrows in the landscape that point your viewer’s eyes in the right direction.
These lines help the eye travel smoothly from the front of your image to the back, making the whole scene more engaging and enjoyable to look at.
But watch out for sneaky lines that might lead eyes astray, directing attention away from the heart of your photo.
Nature’s canvas offers many examples of leading lines that work to your advantage – from the intricate patterns of cracks in rocks, the defining edges of those rocks, to the gentle meander of riverbanks, and the linear form of fallen logs.
These elements can effectively guide the viewer’s gaze, enhancing the storytelling of your landscape shot.

Check For Distractions
Before you press the shutter button, give the area in front of your lens a thorough look-over for any elements that might steal the spotlight from your main subject. Don’t forget to check the entire frame, especially the edges, for unwanted distractions.
The foreground of your photo is like the introduction to a story. It sets the scene and draws the viewer in. But if there’s something in there that doesn’t fit or outright clashes with the rest of the image, it could ruin the whole shot. Sometimes, something as simple as a stray branch or a piece of litter can distract more than you’d think.
If the foreground isn’t doing your photo any favours, it might be time to switch up your position or even seek out a completely new foreground.
The goal is to find something that adds to your photo’s visual appeal and depth, not something that takes away from it.
It’s all about finding the perfect balance that tells your story the way you envision it.

Try Vertical Orientation
Switching your camera to portrait orientation might not be your first instinct with landscapes, but it can really highlight what’s in the foreground while keeping enough of the sky to balance the shot. This method shines in situations where cutting out the sides doesn’t hurt your image’s overall impact.
Just be mindful of what gets chopped as you switch orientations. You want to ensure the change doesn’t disrupt the natural flow or composition of your shot.
Think about what you’re leaving out of the frame and how it affects the picture’s flow and composition. I find using an L Bracket with my cameras a game-changer for landscape photography. It lets me quickly flip from landscape to portrait orientation and back, encouraging me to try both ways when I’m deciding on the best shot. This handy tool means I’m more likely to experiment with different views on the spot.
This is something I’ve been practising doing more and more when I go out on shoots – it doesn’t always work, but it is worth trying!
Once you’ve picked a standout foreground and figured out how to fit it into your shot, make sure it’s sharp and well-lit. Foregrounds are often right up close to your lens, sometimes almost touching it.
But here’s a common snag: your depth of field might not let both the foreground and background be sharp at the same time. That’s where focus stacking comes in. This technique involves taking several photos with different focus points, from the very front of the scene right back to the horizon.
Then, with a bit of magic in post-processing, you blend these shots together. The result? Every part of your photo, from the nearest blade of grass to the furthest mountain, is crisp and clear.
If you’re keen to master focus stacking, I’ve got just the thing.
Check out this step-by-step video by Mark Denney, showing just how simple it is to do in Photoshop.
Conclusion
This article was all about how to use layers and foreground interest into your landscape photography for better photos
Remember, not every scene will benefit from a focus on the foreground, but if you can find a creative composition that is able to make use of one, then you are likely to end up with an image that is more engaging and which has extra appeal to your audience.
By keeping an eye out for those elements that can be brought into the foreground, you’re taking a big step towards creating images that not only capture the beauty of the landscape but also tell a story in a more profound way.
That’s it for now – Keep clicking and sipping 📷 ☕ 🍷
Like this post? PIN it so you can save it for later
Here’s some more articles to help you with your composition:
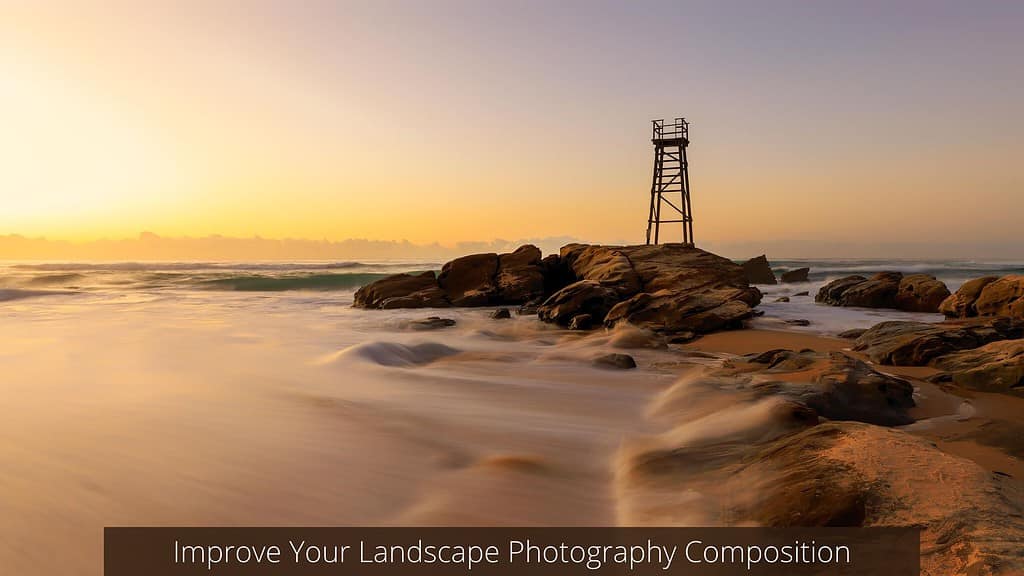
- Improve Your Landscape Photography Composition
- How To Use The Rule Of Thirds
- The Power Of Leading Lines
- Frame Within A Frame: Easy Ways To Improve Your Composition
Are you a beginner landscape photographer looking to improve your skills and capture stunning photos of nature?
If so, “The Landscape Photography Handbook – Exploring the Wonders of Nature” is the perfect guide for you.
In this 90-page ebook, you’ll learn everything you need to know to get off auto mode and start using manual settings to capture stunning photos of nature.