First 10 Things To Do When You Get a New Camera
Did you just get yourself a shiny new camera and don’t know where to start?
Getting a new camera is exciting whether it’s your first or your tenth! But it can be overwhelming if you’ve never set one up straight out of the box before.
No stress, this guide will outline the most important things to do when you get a new camera so you get the most out of your new gear right from the beginning.
From attaching your accessories, to personalising your settings, this guide on the things to do when you get a new camera has got you covered.
Before we dive in, I wanted to share a special freebie for you if you’re also new to photography.
It’s my FREE Exposure Quick Start Guide designed to get you started in your journey by learning the elements of exposure and start taking better photos – Fast!
The Exposure Triangle: Understand the foundation of great photography.
ISO: Learn how to master light sensitivity to enhance your shots.
Aperture: Explore the world of depth and focus.
Shutter Speed: Capture life’s moments with precision.
On-The-Go Cheatsheet: Your handy companion for quick reference in the field
This FREE instant PDF Download will set you up for great photos, so grab it now.
1 – Download The Manual
While it can be tempting to just pop a battery and memory card in and head out shooting, there are a few things you can do that will make a world of difference to your first experiences with your new toy.
Gone are the days you get a printed book, but you should have a quick start guide in that camera box. Head to the website noted on this and download your manual.
Don’t worry, I’m not going to suggest you read it cover to cover (unless you’re due for a nap). Keep it handy though as it will have the details of all the available settings, features and functions, and you will need to know where to find them.
Also, YouTube is a haven full of tutorials and guides for just about every camera make and model out there.
So, while you’re waiting for your battery to charge, watch a couple of videos to give you a head start.
Knowing what each function does, and where to find how to change your settings is more than worth your time.
TIP: Save a copy of the manual on your phone so you’ve got it as a reference no matter where you are.
2 – Charge Battery and Format Memory Card
It’s pretty much a guarantee that your battery won’t be fully charged when you take it out of the box. It’s also recommended to do a full charge for the first time before you head out shooting, so charge it up!
It’s also recommended that you format your memory card in your camera before you start shooting.
First up, you’ll want to start with a fresh, clean card I’m sure.
Also, some cameras can be a bit fussy, and will only recognise a card that has been formatted by that brand.
Finally, it resets the file structure and helps prevent data issues, particularly if it’s not a new card.
3 – Set Time, Date, and Update Firmware
Once your battery and memory card are charged and formatted, it’s time to pop them in and turn your camera on.
You should be prompted straight away to set the time and date, so do this now as this information will be embedded on all your files moving forward. This can be really handy further down the track.
Next is the firmware. This is basically the software that runs your camera. And just like your phone has regular updates, so do your cameras.
IT is regularly updated by the manufacturer and even though it’s new, your camera may not have the latest version. Just head to their website and check for updates.
Your manual will tell you where to find what version you currently have, and the manufacturers website will have instructions on how to update this.
And while you’re there, sign up to receive notifications of updates so you can stay on top of it.

4 – Protect Your Gear
As you’ve just made a nice investment, it’s important to protect that, just like when you buy new furniture or a new car.
First up make sure you register your warranty following the instructions that would have come in the box along with your quick start guide. Having it registered from the start will make it easier should anything go wrong during your warranty period.
Also, consider insurance. Some house and contents insurers allow you to add it as part of contents, so investigate this first. Otherwise, you may need to look at insuring it separately. There are several insurance companies out there that specialise in this.
Just like cars, accidents do happen, and repairing cameras can get expensive quickly! It’s not nice to think of, but it should also be covered for theft.
So, for a relatively small annual cost, having good insurance can offer great peace of mind.
If you travel, also make sure that you are covered wherever you may be in the world.
As an extra measure, record the serial number in case it does go missing. I take a photo of this along with photos of all my new purchases for future reference if needed.
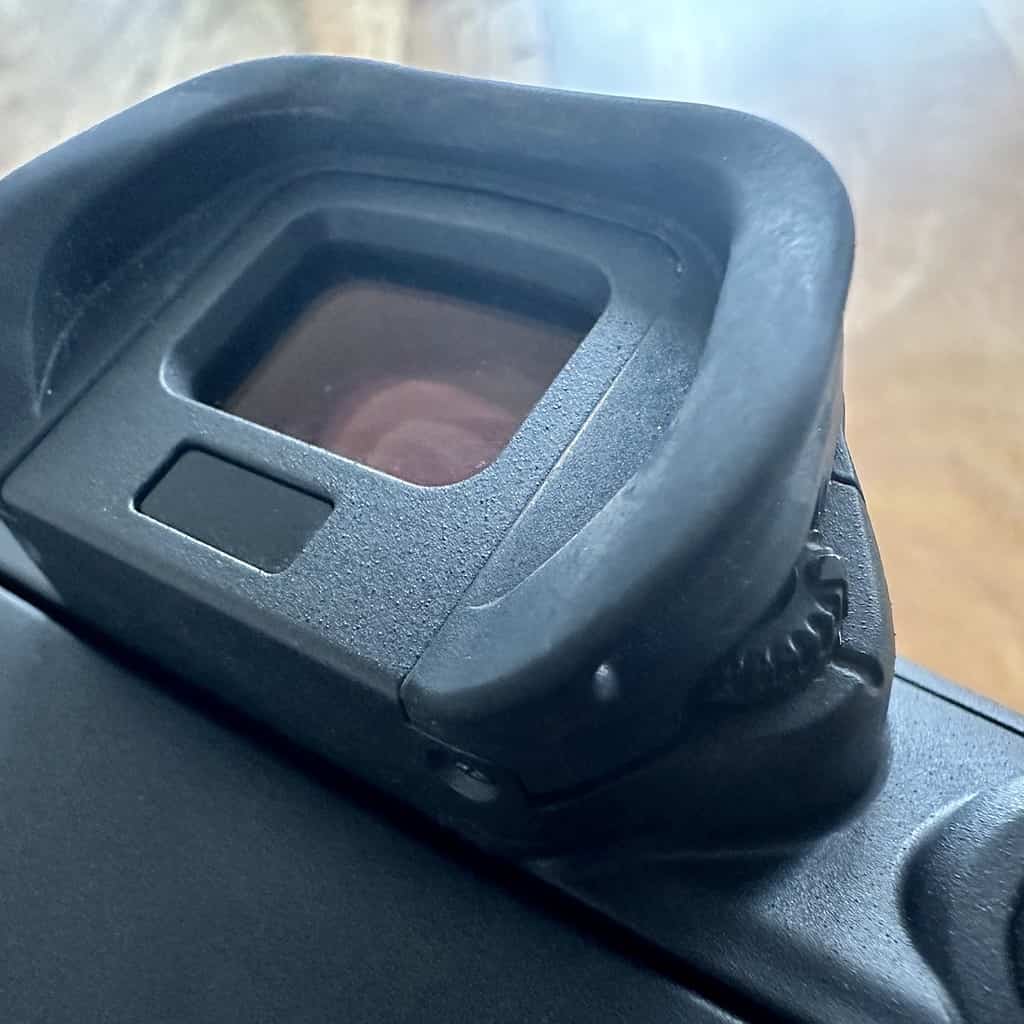
5 – Set Your Diopter
This is something I was completely oblivious to until I did a workshop one day, and it was the first thing the instructor had us do. I don’t think any of the 10 of us participants knew anything about this!
Have a look through your viewfinder and see if the scene is nice and sharp. If it’s looking soft or blurry, this means your diopter needs adjusting.
What’s a diopter?
It’s a small dial (often mostly hidden) that you will find right next to your viewfinder.
Image of diopter
Simply adjust this until it’s nice and sharp to your eye. As this is adjusted to suit you (particularly if you wear glasses), it can make a huge difference.
Note that this only affects the sharpness of the viewfinder. It is NOT related to the sharpness of your actual image.
This really was an eye-opener – pun intended!
6 – Learn The Different Camera Modes
If this is a new term to you, the different camera modes simply refer to how much the camera decides what the settings will be, and how much you are in control of.
Camera Modes: A Quick Snapshot
Automatic Mode: The camera makes all exposure decisions for you.
Program Mode: The camera selects both aperture and shutter speed, while you control other settings.
Aperture Priority Mode: You set the aperture, and the camera determines the appropriate shutter speed.
Shutter Priority Mode: You choose the shutter speed, and the camera adjusts the aperture for proper exposure.
From automatic to full manual mode, there’s no right or wrong really. It’s about using the right tool for the job, whether you’re snapping a quick picture or setting up a detailed shot. It is not about there only being one right way!
7 – Personalise Your Settings
Now it’s time to dial in the foundation settings on your new camera. These are mostly things you will set once and not worry about again.
We will also cover some of the basic starting settings to get you going quickly, and then dive deeper into other functions your camera may have once you’re comfortable with these basics.
Image quality
The next setting to control is the image quality. This is where you set what type of files to save your images as.
Most cameras will give you the options of JPEG, RAW, or both, and within that they will have the quality of each of those files it will save.
A RAW file is an uncompressed file that captures all the ‘raw’ data available in your image. This will create a larger file that will need some post-processing to share, but it gives you much more flexibility when you edit your images.
A JPEG file is a compressed file where the camera does some basic post-processing for you. It’s a smaller file and is ready to share and print directly from the camera.
With large capacity memory cards being relatively inexpensive, I highly recommend you go for the maximum size available and save them as a RAW file.
If you really don’t want to do any post-processing on your images, then at least save it as the highest quality JPEG that your camera offers.
Even then I would recommend you also save as a RAW file, as you may wish to enter the world of post-processing at a later date.
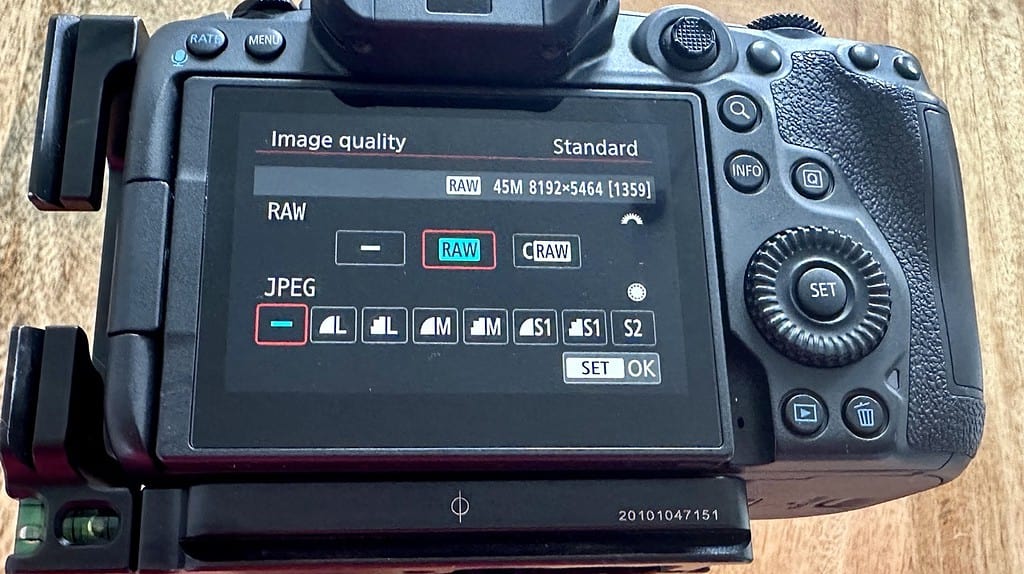
Image Review
Image review refers to how your camera will display the photo you just took on the LCD screen before disappearing back into live view.
Here are a few simple settings for you to consider so it’s set up the way you would like it:
Length of Review: this refers to how long after you take your image will stay on screen. I have this set on 2 seconds, but you may like longer or shorter, depending on what you are shooting.
Histogram Display: This is a good one to have on as it is the most accurate way to know that you have a decent exposure. It will show you if you have clipped your blacks or blown out your highlights and therefore need to adjust your settings and re-shoot.
Screen Brightness: Adjust this to your likeness (and situation). If shooting in bright light you may need to turn this up to see. Note that this has no bearing on your actual image, it is simply relating to the screen’s display.
Image Style: This relates to how accurate the playback is compared to the image you actually took. If you’re shooting in RAW, the images can look ‘flat’ as it’s just raw data so you can change your setting to something like ‘standard’ or ‘landscape’ (depending on your camera) so it appears more like what you are standing in front of.
Set Colour Space
This is another setting that is often overlooked as one of the important things to do when you get a new camera.
To keep it simple select Adobe RGB – The best colour space for printing is the Adobe RGB colour space. But if you’re shooting photos to upload them to the Internet, selecting the sRGB is ideal for you.
The reason I am recommending Adobe RBG is that it’s much easier to convert your images from this to sRGB than the other way around. You can simply choose this option when you are exporting from your post-processing software.
SRGB and Adobe RGB include an equal amount of colors, but the range of sRGB is narrower. Adobe RGB is said to have a 35% wider gamut of color than sRGB.” ~ Expert Photography from the article sRGB vs Adobe RGB – How to Choose the Right Color Space
That’s it for the basic settings you will want to set and forget for now.
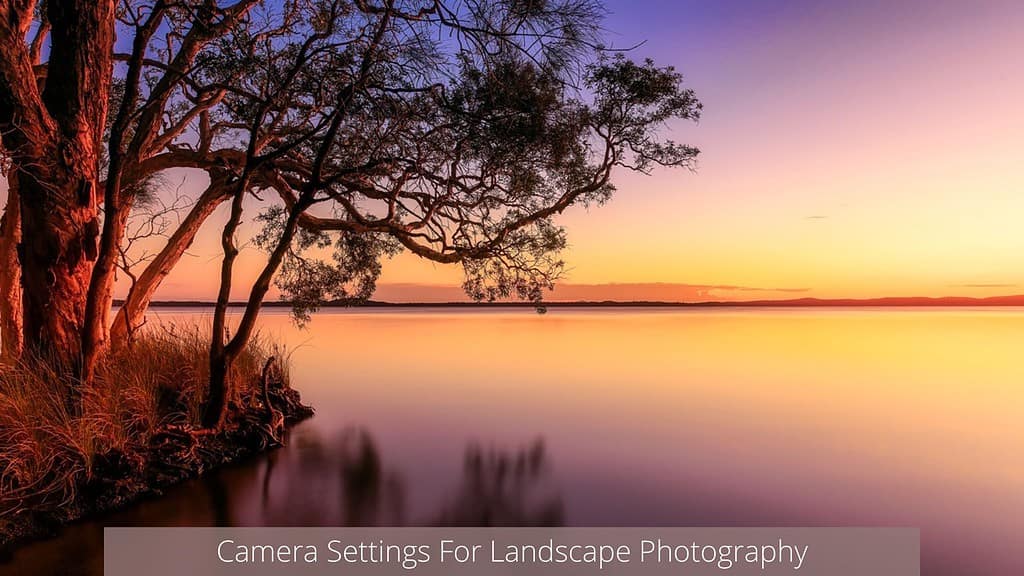
For settings that you will change often out in the field depending on the situation including Drive Modes, Metering Modes, AutoFocus Options, White Balance and Exposure, please head over to this article on the best camera settings for landscape photography for more detailed information.
8 – Set Up Wi-Fi
Just about every new camera these days will have a Wi-fi feature so it would be silly not to take advantage of it.
The wi-fi will allow you to remotely control your camera with your phone and transfer your photos wirelessly to your phone or laptop.
Remember that manual you downloaded? Now is the time to go to that section and set this up.
It’s best to set this up before you head out and take photos so you’ve got it from the get go.
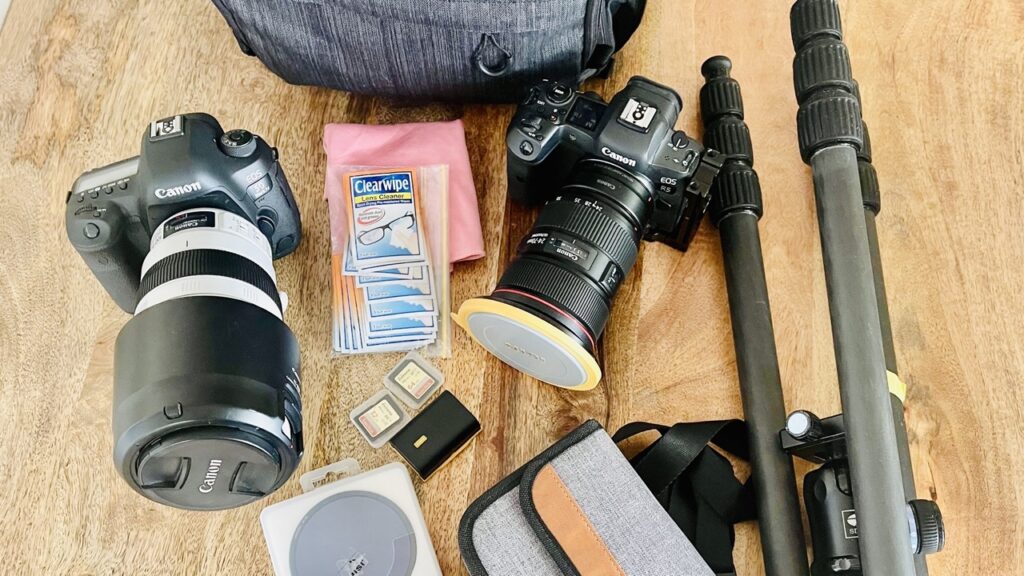
9 – Accessorise
When you buy a camera (assuming you also have at least one lens), you will have almost everything you need.
But, there will also be a couple of things you’ll need that WON’T have come with the camera.
These include essential accessories such as a memory card, or a spare battery.
Here are some more items to consider to include in your kit so you really are ready to go.
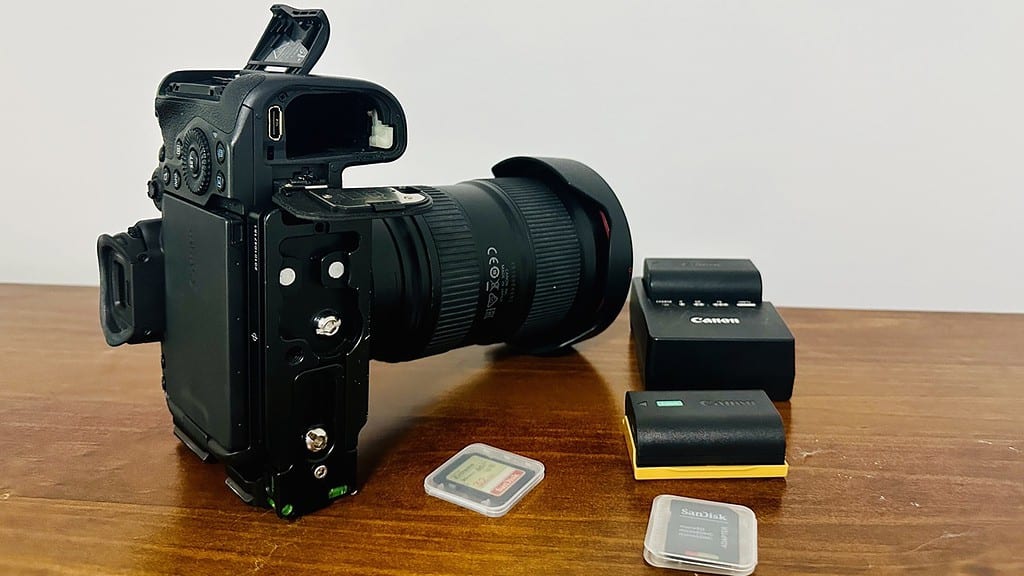
Extra Batteries and Memory Cards
Having a backup battery (or two) and extra memory cards give you that freedom of taking as many shots as you need without stressing about running out of charge or space.
You really don’t want to get caught short here – imagine watching the most incredible sunset after shooting all afternoon, only to run out of battery right as that sun is dipping behind the horizon.
It just doesn’t bear thinking about for the sake of a few extra dollars.
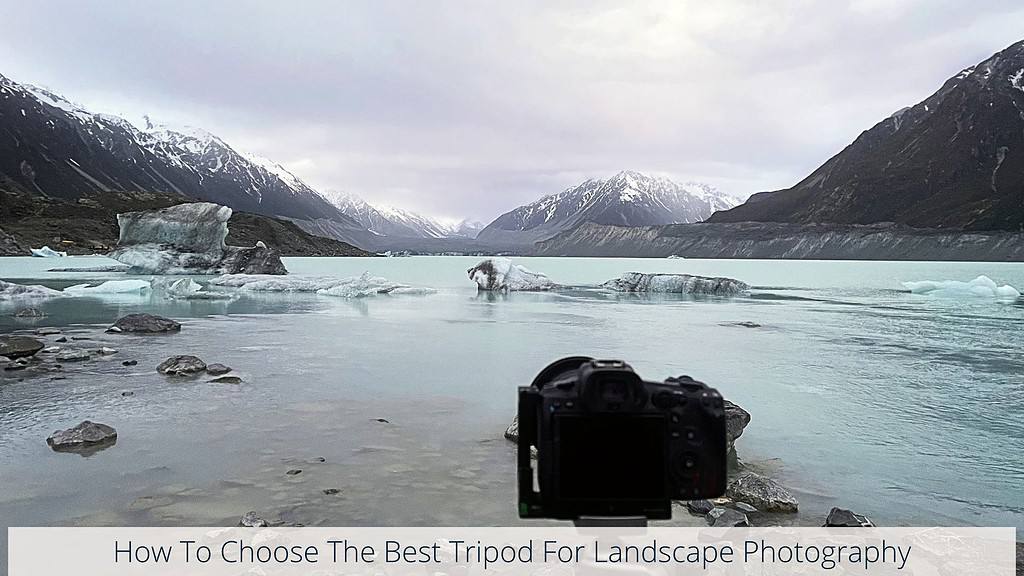
Tripod
I honestly don’t believe you should be able to leave the camera shop without a tripod to go along with your shiny new camera and lens.
Yes, I do mostly photograph landscapes, and particularly during the golden hour where a tripod is essential.
But if you want to shoot waterfalls, or in any situation that has low light or movement that you want to capture, then a tripod is essential.
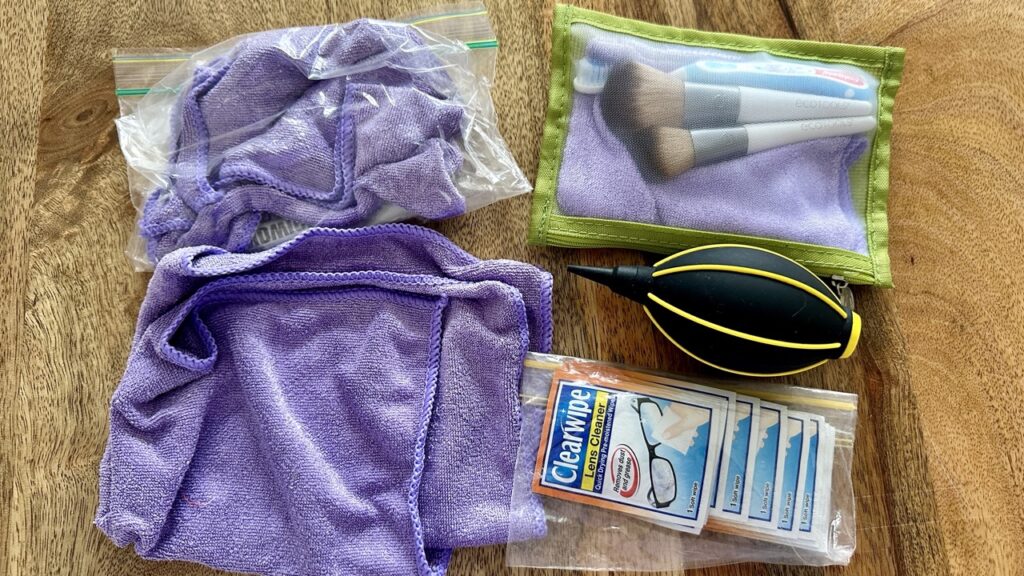
Cleaning Supplies
There’s no getting around this – you will need to clean your gear regularly to keep it in good condition.
It doesn’t have to be complicated – start with microfibre cloths, a blower, soft brush and some lens wipes.
These are just the bare basics of what to start out with. Other things to consider include a dedicated camera bag, a quality strap, a remote shutter release, a L-Bracket and a set of filters
For a complete list of accessories to think about to support your photography journey, head over to this guide on Landscape Photography Accessories Every Photographer Should Have In Their Bag.
10 – Get Out There And Start Clicking!
Phew, now you’re all kitted out and your camera is perfectly set up, it’s now time to get out and start taking photos!
You’ve got the basics sorted so now it’s time to build a bond and get to know your own friend.
There’s no better way to get to know it than to get out and actively photograph things – anything!
Besides, this is where the fun really starts – so enjoy and get clicking!
What’s Next?
If this is your first ‘proper’ camera, it will likely have many more functions than we’ve covered here, but don’t try and learn everything at once.
If you’re new to photography, it doesn’t matter how many wonderful features it has if you don’t know the basics.
Developing skills in photography requires you to invest time and effort into learning the foundations – and don’t worry, everyone was at this point at some stage.
Which is why what you should do now is focus on the foundations and get yourself some education.
There are many fantastic free tutorials available out there, and hello, I’ve got a lot of resources here on this website, but nothing free will really compare to paid courses or workshops if you have the budget for it.
If you do decide to invest in some education, do your research. Check out their work, their experience, style and reviews.
In the meantime, check out this article which outlines 15 beginner tutorials covering all the basics of landscape photography:
That’s it for now, get out and enjoy your new camera – Keep clicking and sipping 📷 ☕ 🍷
Like this post? PIN it so you can save it for later
Other Helpful Articles:
- How To Choose The Perfect Camera: A Beginner’s Guide
- How To Choose The Best Tripod For Landscape Photography
- Lenses For Landscape Photography: How To Choose What’s Best For You
- Filters For Landscape Photography
- Landscape Photography Accessories Every Photographer Should Have
- Camera Settings For Landscape Photography
Don’t miss a post – sign up Here if you haven’t already
Are you a beginner landscape photographer looking to improve your skills and capture stunning photos of nature?
If so, “The Landscape Photography Handbook – Exploring the Wonders of Nature” is the perfect guide for you.
In this 90-page ebook, you’ll learn everything you need to know to get off auto mode and start using manual settings to capture stunning photos of nature.