Sharp Landscape Photos: Everything You Need To Know
This article is everything you need to know about getting sharp landscape photos.
One of the biggest frustrations I had when I first started was the amount of blurry shots I had to delete.
You can have great light, and a perfect composition, but if your photos aren’t sharp they are basically useless.
There’s nothing quite like a photo being gour of focus or blurry to completely ruin it. It’s incredibly obvious to most of us when a photo isn’t sharp – and spoiler alert, if it’s blurry, this is something that post-processing can’t help a lot with.
So, what causes photos to not be sharp, and how do you prevent this?
Sure, having the right gear is a good start, but it mostly comes down to technique.
And it doesn’t have to be that hard.
Taking sharp landscape photos really comes down to these things: the right focus, the right camera settings, and having zero movement while your shutter is open.
So, let’s dive in.
Why Your Photos Might Not Be Sharp
So, before we look at how to ensure your photos are sharp, firstly you need to understand what might be preventing them from being sharp in the first place.
If your landscape photos aren’t sharp, it will be because of one or more of these things: out of focus, movement blur, the wrong camera settings and dirty lenses or filters.
They’re Out of Focus
While most cameras these days have incredible focus systems, you still need to know how to use them in whatever situation you find yourself in.
Focus can be very subjective and up to the individual. What part of the image you choose to have in focus is part of your creative expression for sure.
But you need to know how your camera’s focus system works so that you are in control.

Camera Blur
This is any movement of the camera, including what it’s attached to, while the shutter is open.
You may wish to intentionally cause blur in your images as part of your creative expression, but that’s for another day.
Camera blur usually happens when you have a combination of a slow shutter speed and camera movement, so it’s important to minimise this, either through stabilising your camera and/or increasing your shutter speed.
Motion Blur
While camera blur is a result of the camera moving, motion blur is the result of the subject or parts of your scene moving.
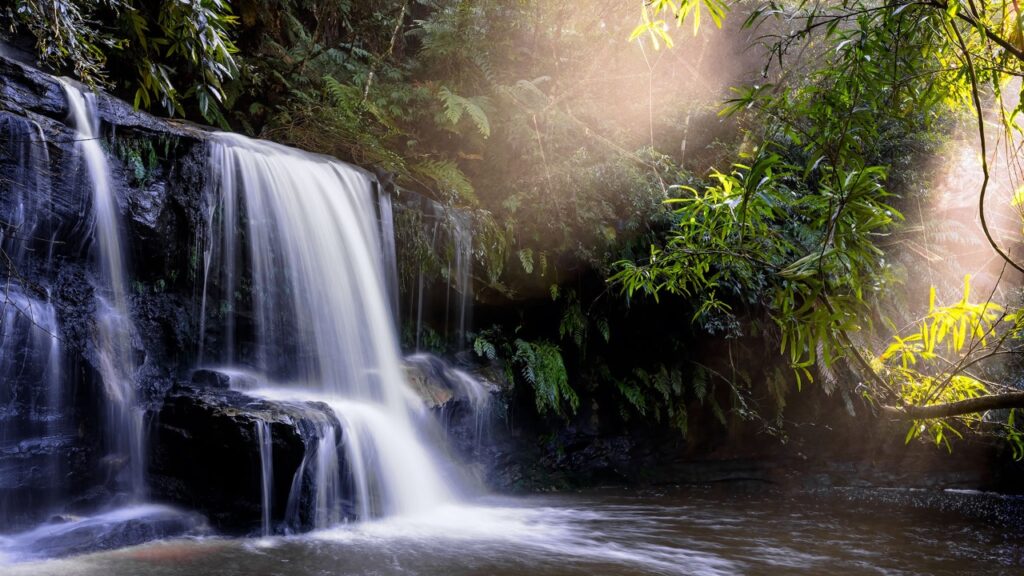
In the case of showing movement in the sky or water, such as waterfalls, you may want some motion blur.
But, if you are taking landscape photos with little movement, you need to learn the correct settings to get sharp images.
Wrong Exposure Settings
Setting the right settings for your ISO, Aperture and Shutter Speed is a complicated topic, but is one of the most fundamental things to learn when starting your landscape photography journey.
Having the right camera settings is crucial to sharp landscape photos, and can easily be one of the things causing your blurry photos (but we’ll look at how to fix that shortly).

Your Lens/Filter is Dirty
I’ll keep this one simple – keep your lens and filters clean!
Now that we’ve uncovered why your photos might not be as sharp as you would like, let’s get to the solutions.
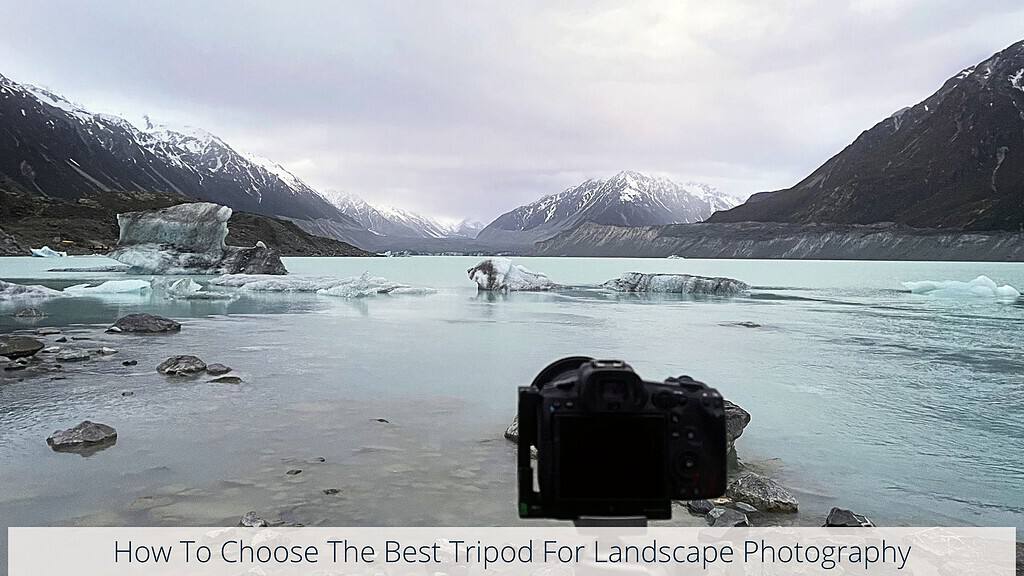
Using A Tripod
This one might seem like a no-brainer, but it has to be said.
If your camera is on a decent, stable tripod then most camera blur should be eliminated.
A tripod allows you to take photos with long shutter speeds without the risk of movement when shooting handheld.
Camera stabilisation has come a long way, but it’s still impossible to take sharp extra long exposure photos without support.
But there’s more to just placing your camera on any old tripod to get nice sharp landscape photos.
Not All Tripods Are Equal
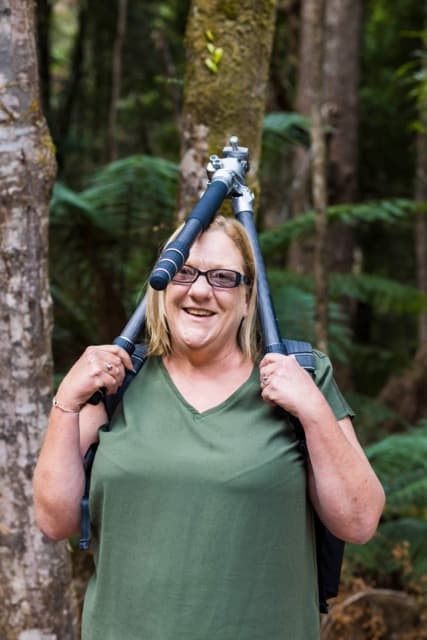
Please don’t make the same mistake I did. If you’re serious about your landscape photography, buy yourself the best you can within your budget and use it!
I heeded this advice back in 2017 and still have the same tripod to this day – it’s waterproof and I can’t tell you how many times it’s been in sand and salt water, and still going strong.
The one I purchased was the Sirui W-2204 Carbon Fibre Waterproof Tripod with K-30II – it’s never let me down, just needs the occasional clean and good to go!
There are a few things to consider before burying your first tripod, and this article dives in deep for you:
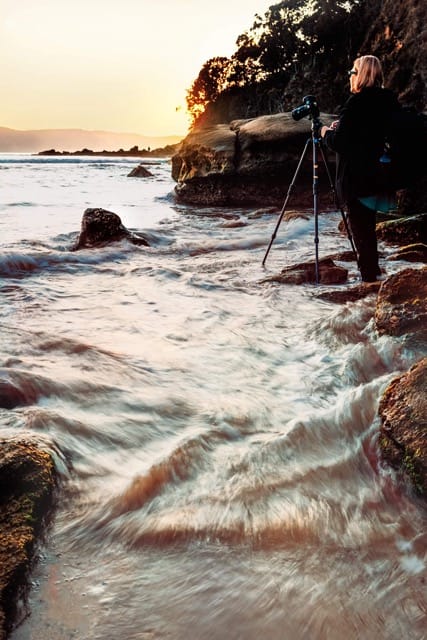
Keep Tripod Secure
When you’ve got your tripod set up, you need to make sure it’s stable and on solid ground.
This may sound silly, but please make sure you’ve secured the camera solidly to the tripod head. I feel I need to say this as I’ve seen more than one camera fall off a tripod over the years – not mine thankfully.
I also learned the hard way that a tripod will move if it’s set up in wet sand or moving water, so be careful!
Anywhere there’s uneven ground, check it at least twice before letting go completely and take any photos.
Weigh Down If Necessary
Even decent sturdy tripods are susceptible to the weather, and any movement will in turn cause photos to be blurry and not sharp.
You may not have noticed it, but most tripods have a hook that sits underneath the head or central column. If it’s really windy you can hang something heavy from that hook.
This will normally be your camera bag, although you can also attach a plastic bag filled with sand or rocks; whatever you can find where you are.

Consider Lowering Your Tripod If Windy
Too often we extend our tripod to its full height without really thinking about whether we need to be that high.
If it’s windy, lower the centre column if you use one (I personally don’t), and collapse the thinnest section of your tripod to lower it. This will help reduce the effects of the wind.
The tripod will also be more secure resulting in less potential for camera shake.
Turn Off Image Stabilisers
It may sound contradictory, but using your lenses’ image stabilisation while it’s fixed to a tripod can actually cause blur.
It’s not necessary, and it can cause movement while trying to detect motion – confused? Just trust me on this one.
So unless you are shooting handheld, turn this off; it will also help your battery life.
You’ll just need to remember to turn it back on if you do any handheld shooting.
Remove Strap
This one may seem obvious, but a flapping strap can also cause vibrations when your shutter is open, particularly if it’s windy.
Hands Off
This is something I’ve been guilty of without even realising.
It’s easy to keep your hands on your camera or hold onto the tripod when you take a shot, but this can undo all your good work with your tripod.
Even if you don’t realise it, your hands will move, even just a fraction. And that fraction is enough to ruin your shot, particularly if you’re shooting long exposures.
Once that shutter is open, your hands should be well away from your camera, which leads me to …
Use A Remote Shutter or Timer
Yes, we are talking about minor movements here, but even pressing your finder on the shutter will create vibrations and cause blur.
There are two easy options to avoid this:
- Use a remote shutter release. They are quite inexpensive and allow you to trigger the shutter without actually touching the camera.
- Use the camera’s two-second timer. This delays the shutter from activating for two seconds from the moment you press the shutter. Most cameras will also have a ten-second delay, but I’ve always found that two seconds is more than enough time for you to get your hand out of the way.
I tend to rely on the two-second timer for most of my shots – it’s just one less piece of gear to worry about.
It comes down to your own personal preference.
Be Aware of Telephoto Lenses
When you use a telephoto lens, it magnifies everything, which is exactly what they are meant to do. But, that also means there’s less room for error as it will magnify even the slightest blur in your photos.
This is not to say not to use telephoto lenses, it just means you need to pay extra attention to your images and your steadiness when you take your images.
For example, if you’re using a tripod and it’s windy, it’s even more important to lower your tripod if you can.
The extra weight of telephoto lenses can also be an issue if your tripod is not particularly strong, so take those extra few seconds to make sure it is secure and attached correctly.
So, just be careful – pay extra attention to keeping everything stable, and ensure you review your images after you take them.
Use The Right Exposure Settings
Getting your exposure settings right is the foundation for all photography, and it’s essential to learn this as one of the first things to learn when starting in landscape photography.
As such it goes without saying that it plays an important part in getting sharp landscape photos.
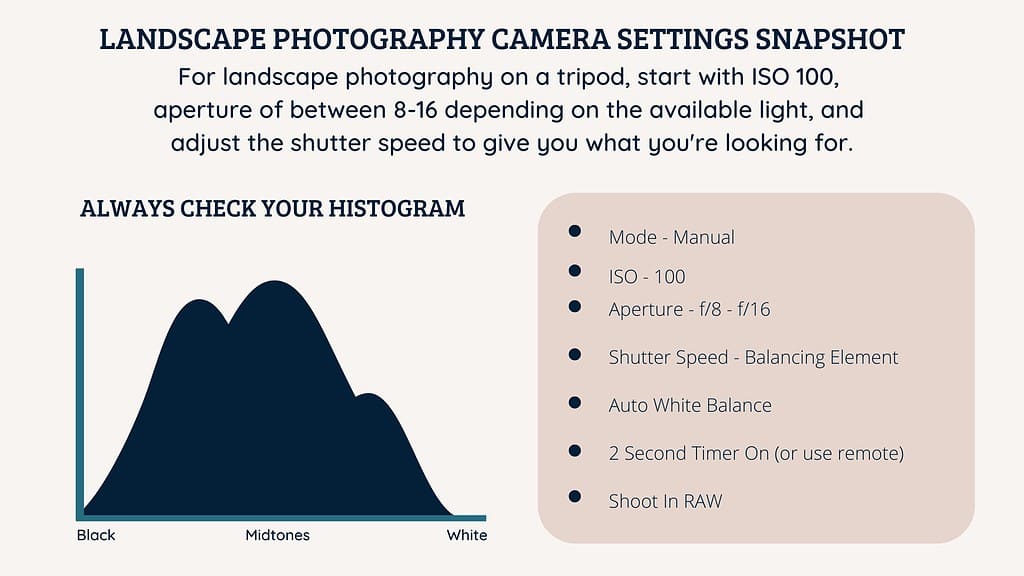
Here is a simple summary of recommendations for setting your exposure as a starting point.
These settings are based on the assumption that you are using a tripod and you are photographing a static scene i.e. no moving water or objects.
ISO
Set your ISO as low as your camera goes; this is usually around ISO 100.
This allows you to capture as much available light there is with minimal visual noise in your photos.
Mind Your Aperture
The general goal for landscape photography is to have your image sharp and in focus from front to back.
There are definitely exceptions to this, but for the point of this article, that is our goal.
Your choice of aperture is critical here, and generally a small aperture is ideal as it gives you more depth of field.
As a starting point, I recommend you set your aperture between f8 and f11.
You can of course go narrower, a higher number up to f16, but be aware that this can introduce blur due to diffraction, which is something you definitely don’t want.
Understanding diffraction is getting beyond this article, but head over to this article by Photography Life if you’d like to delve a bit deeper: What is Lens Diffraction?.
Shutter Speed
Once you’ve set your ISO and aperture, you will need to set your shutter speed wherever it needs to be to get a correct exposure.
Since your camera is stable on a tripod and you are photographing a static scene, you can set whatever shutter speed you need without any fear of camera blur., but you still need to make sure your photo isn’t too dark or too bright.
Your histogram or exposure metre will help you with this.

This is a very basic starting point of course, but it will serve you well for many landscape scenes you may be photographing.
You can head on over to my complete guide on camera settings here for an in-depth look at each of these settings:
Many landscape photographers use Aperture Priority Mode,
and with good results. When you use this mode, you select the ISO and Aperture, and your camera sets the appropriate shutter speed to achieve the correct exposure and usually gives good sharp results.
This can be a great starting point when you’re learning – one less thing to think about!
Focussing Techniques
Focus Modes
Your camera will most likely have several auto-focus (AF) modes, but which one is best for your situation?
Most cameras will have single shot, continuous, and auto AF modes.
Auto will decide for you, so I don’t recommend that.
Continuous moves as your subject does which is great for sport or birds, but not necessary for landscape photography.
This leaves single shot which is perfect for sharp landscape photos. You have full control over where to have your focus, and your aperture will determine how much of your image is in focus.
Manual Focus
While I generally use single shot auto focus, there are times that manual focus can help you take sharper photos.
Your camera may struggle to focus in low light situations, so learning to adjust or check your focus manually can be a good idea at times.
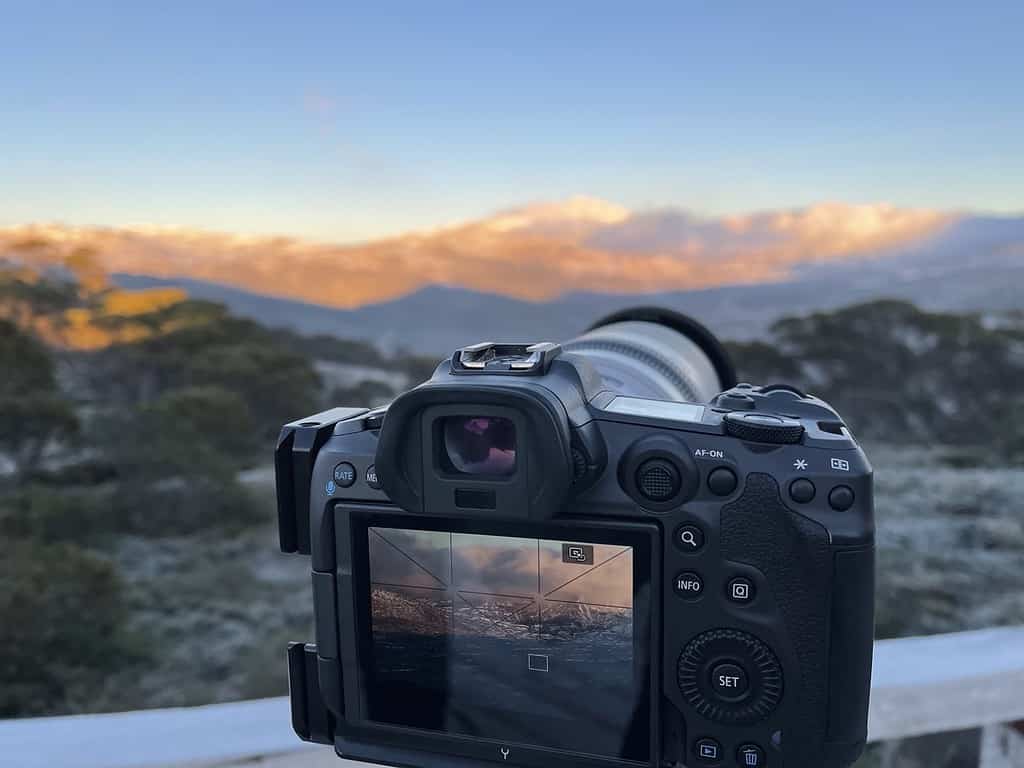
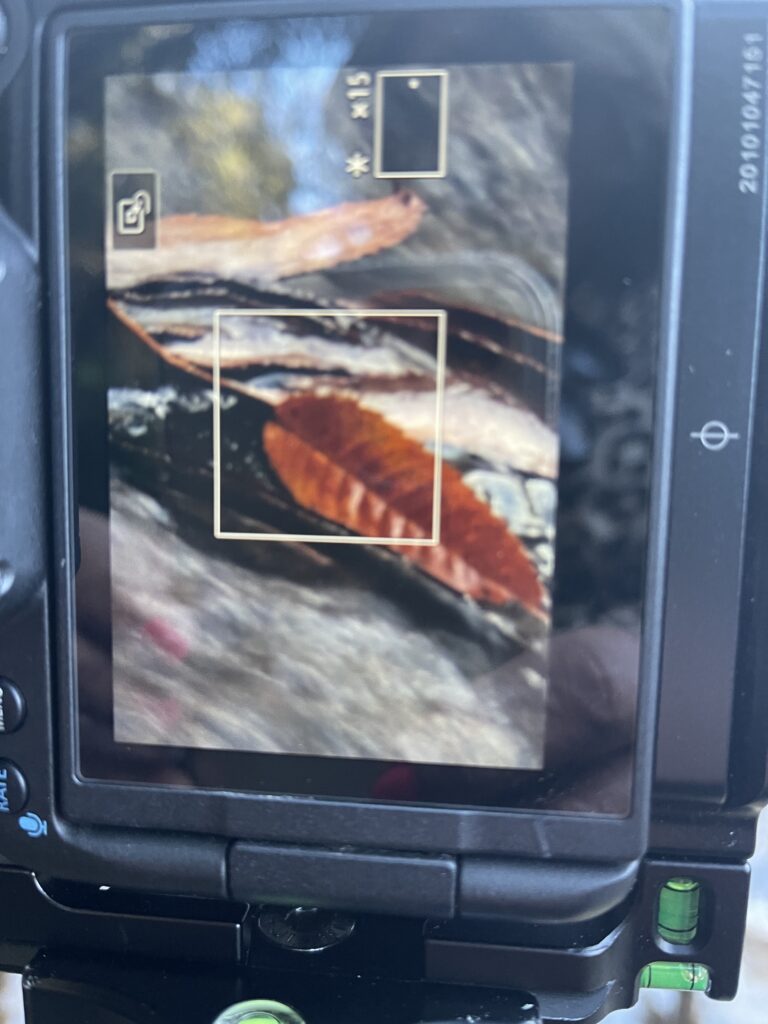
This is where using live view on your LCD screen can help:
Use Your Live View To Focus
Whether you’re using an auto focus option or manual focus, you can ensure that what you want to be in focus is, by using your Live View.
You can use the magnify (+) button and scroll around, make sure your focus point is where you want it, everything is sharp, and you’re good to go.
Choose Your Focus Point
Now, where do you set your focus point for landscape photos?
If you’ve got an obvious subject, then this can make it easier. Simply focus on that so it’s sharp and you may not worry too much about the rest of the scene.
Other times, you will simply want to heave the entire scene sharp from front to back, and that’s where it can get complicated.
But it doesn’t have to be.
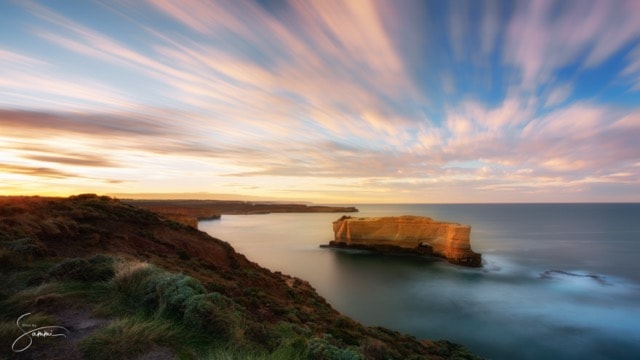
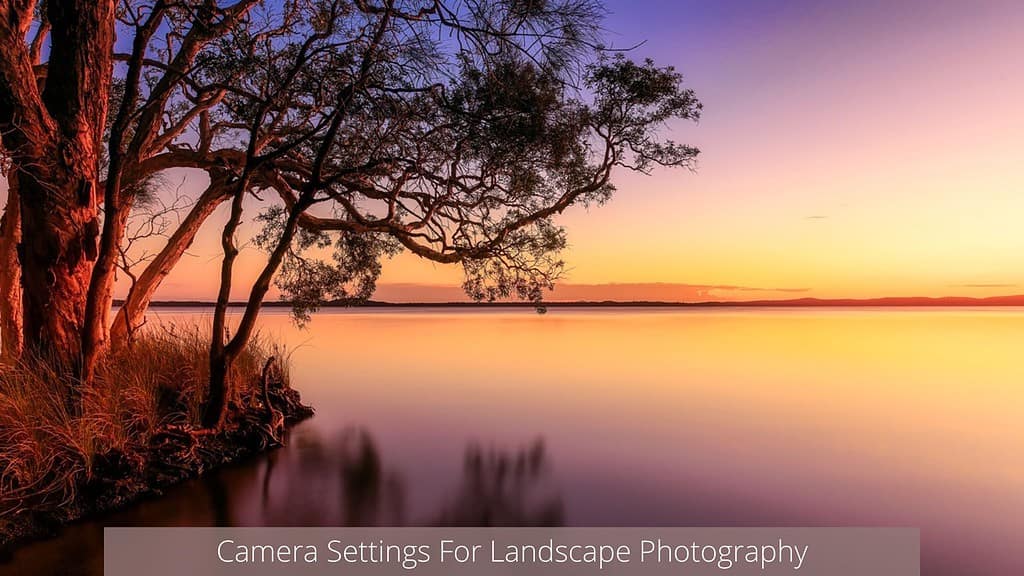
One of the easiest ways to improve the sharpness of your landscape images is to focus about one-third of the way into your frame. Somewhere along that bottom horizontal grid line on your screen.
By focusing closer to the bottom of your frame you are making sure that your foreground is in focus.
And, if you’re using a smaller aperture (larger number), your depth of field is larger so it extends beyond that focus point so you have a sharp midground and background as well.

Looking at the image above, the one-third point into your frame would be roughly where that small island is along the horizon line.
This will ensure that the foreground will be in focus, along with the rock formations and everything around it as well.
This doesn’t have to be perfect, but it is an effective focusing technique that will serve you well.
Hyperfocal Distance
Getting a little more advanced, another technique for achieving sharp photos is to use the hyperfocal distance technique.
Basically, the hyperfocal distance technique involves setting your focus point according to the specific aperture and focal length you are shooting with. So, this would be different if you’re using f8 shooting at 16mm compared to f11 with a 24mm lens.
If you choose the right aperture, and set your focus point to the hyperfocal distance for that aperture you will get sharp photos.
This does involve some maths calculations that aren’t clear when you first start out.
Luckily there are apps to help with that, if that’s what you’d like to do. Personally I either focus on the subject or use the one-third into the frame and skip the maths.
But if this is something you’d like to learn more about, check out this video from PhotoPills. It gives a great in-depth tutorial on hyperfocal distance.
Review Your Images
It’s easy to get caught up in the moment taking photos, but it’s important to review your images as you go to ensure your images are sharp.
Hit play regularly and zoom in to check your images are as sharp as you would like them.
Consider Focus Stacking
There are times that you can’t get everything in focus in one shot, so you can take two or more shots and then photo-stack them in post-processing software such as Photoshop or Luminar Neo.
It’s a fairly simple technique that lets you end up with everything sharp from front to back. For example you would take one shot focussed on your foreground, one for the midground and one focussed on the background.
Because you have a number of images with different focal points, combining these images in post-processing will ensure that the foreground, midground and background are all in sharp focus.
This is best done on a tripod so that your composition is exactly the same. If ther’s any movement between images, they won’t line up correctly when they are stacked.
It’s also best if it’s a scene without any movement, as the motion will look different in each shot. There are ways around this in post-processing but it does get more complicated.
It is a great technique that can produce stunning results, and if you’d like to learn more, Mark Denney has a great tutorial on it:
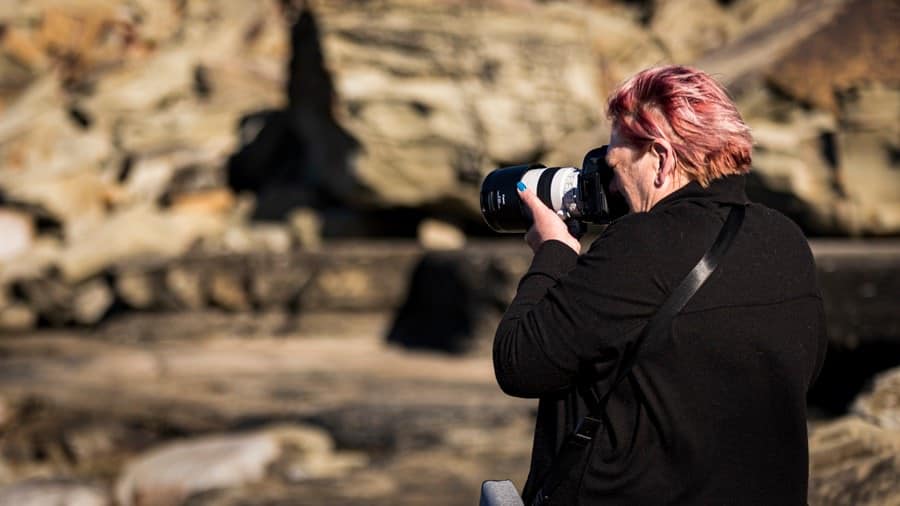
Shooting Handheld: Tips For How To Take Sharp Landscape Photos
It’s not always necessary, or possible to be shooting with a tripod, so here are some simple tips to get sharp photos when you are shooting handheld.
- Image stabilisation ON
- Watch your shutter speed. As a rough guide aim for a shutter speed equal to or faster than your focal length. So, if you are shooting at 50mm, you wouldn’t want your shutter speed to go lower than 1/50. This will also depend on your personal steadiness and your camera’s image stabilisation capabilities, but is a good starting point.
- Look for a wall, tree, or another person to provide support
Hands: Use your right hand to grip the camera body with your finger ready to press the shutter. Hold the lens underneath with your left hand for more support.
Limbs: Tuck your elbows in and arms close by your side. Legs should be shoulder length apart for balance. If you can kneel, bring one leg up to support your elbow to create extra support.
Breathe: Don’t hold your breath. Instead, breathe out slowly while taking your shot as holding your breath can create subtle shaking.
Gear Maintenance
I probably don’t need to say this, but a gentle reminder never goes astray.
Always clean your glass and filters regularly. I shoot seascapes a lot, so I clean during and at the end of every shoot depending on how close I get to the water.
I consider it an essential to carry several microfibre lens cloths and keep one in your pocket at all times.
Your sensor can also get dirty, particularly if you change lenses frequently. You can do this yourself, but I prefer to have it done at my local camera shop.
Conclusion
Now that I’ve shared everything to consider to take sharp landscape photos, it looks like a lot to remember!
But don’t worry, much of this is common sense, and with practice this will all become second nature as you keep getting out there taking photos.
Don’t get too caught up too much though; you don’t want to be spending more time worrying about sharpness and losing the joy of creating.
Sharpness does matter, but remember that it’s only one part of what makes a great photo.
There will be times you forget to turn off your image stabiliser, or use a less than ideal aperture for your scene, and that’s ok. It’s all part of the experience.
The most important ingredient is enjoying your photography and getting out there in nature.
That’s it for now – Keep clicking and sipping 📷 ☕ 🍷
Like this post? PIN it so you can save it for later
Other Helpful Articles:
- Landscape Photography Guide For Beginners
- Understanding Exposure
- Complete Guide to Camera Settings
- 15 Helpful Landscape Photography Guides For Beginners
- 7 Beginner Landscape Photography Mistakes: And How To Avoid Them
Don’t miss a post – sign up Here if you haven’t already
Are you a beginner landscape photographer looking to improve your skills and capture stunning photos of nature?
If so, “The Landscape Photography Handbook – Exploring the Wonders of Nature” is the perfect guide for you.
In this 90-page ebook, you’ll learn everything you need to know to get off auto mode and start using manual settings to capture stunning photos of nature.