Creating Beautiful Sunstars In Your Photos
A Step By Step Guide On How To Create Sunstars
I love sunstars, and I’m sure I’m not the only one!
Sunstars are a great way to enhance your images. They can completely transform a photo and they are quite easy to create once you know how.
You usually only have a small window of time to capture them when they are there, hence the quote. Just in case you were wondering what the quote had to do with it :).
I call them ‘sunstars’ but I’ve also seen them referred to as starbursts or sunbursts.
But first, in case you are interested …

What Causes A Sunstar to Appear?
Without getting too technical, sunstars are caused by diffraction as a result of bending light waves. You can create them when you have a light source much brighter than the area surrounding it.
Here’s a technical definition from Wikipedia in case you’re interested –
“Diffraction spikes are lines radiating from bright light sources, causing what is known as the starburst effect[1] or sunstars[2] in photographs and in vision. They are artifacts caused by light diffracting around the support vanes of the secondary mirror in reflecting telescopes, or edges of non-circular camera apertures, and around eyelashes and eyelids in the eye.”
This can become quite complicated so feel free to do some research.
It’s much more fun to simply just create them, so let’s get onto that –
Basic Tips For Capturing the Sunstar Effect
- Set your aperture to between f16 and f22 (a small aperture). The smaller the aperture, the stronger the effect can be.
- Because you are photographing a bright light you will need to be very careful with your exposure so you don’t end up with a very overexposed image.
TIP – Set your exposure compensation to one or two stops under-exposed (focusing on your main subject – not the light source). Don’t underexpose too much though, or you’ll need to correct the shadows in post-processing.
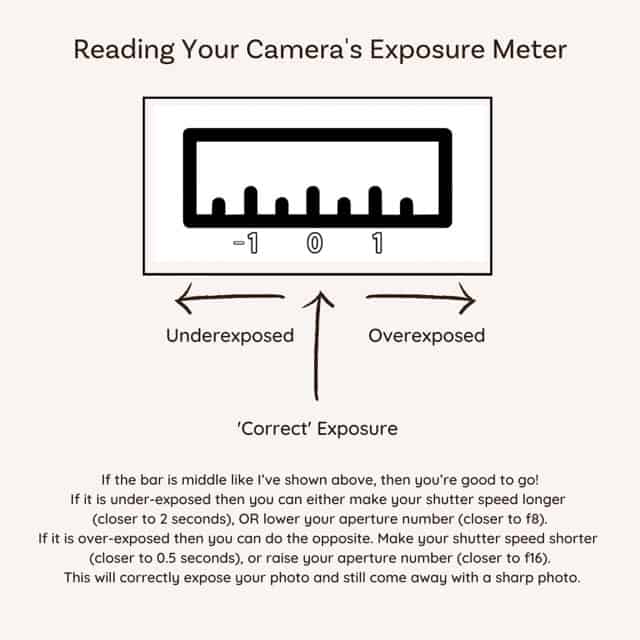

Here’s an article all about exposure compensation for further reading.
- Because you are using such a small aperture (larger number) you will need to keep an eye on your shutter speed. If you’re on a tripod this won’t be an issue. BUT, if you are shooting hand-held, you may need to increase your ISO to keep your shutter speed faster. You don’t want a shaky sunstar!
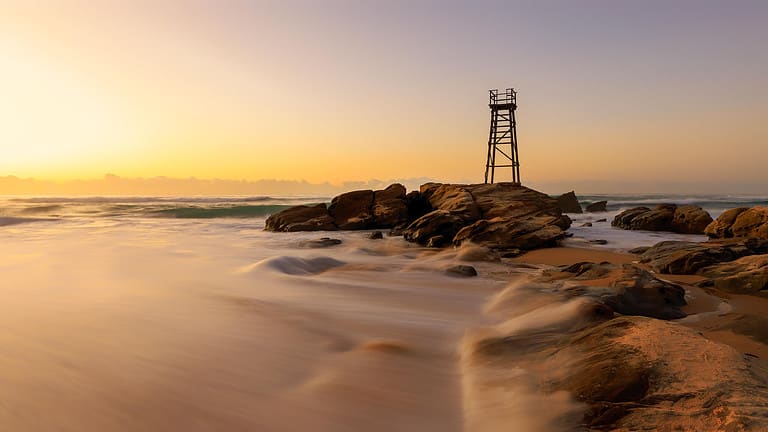
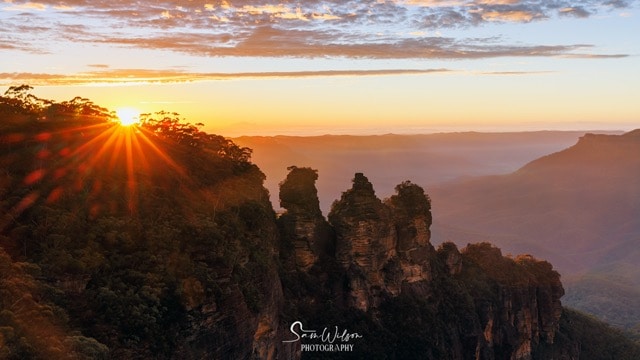
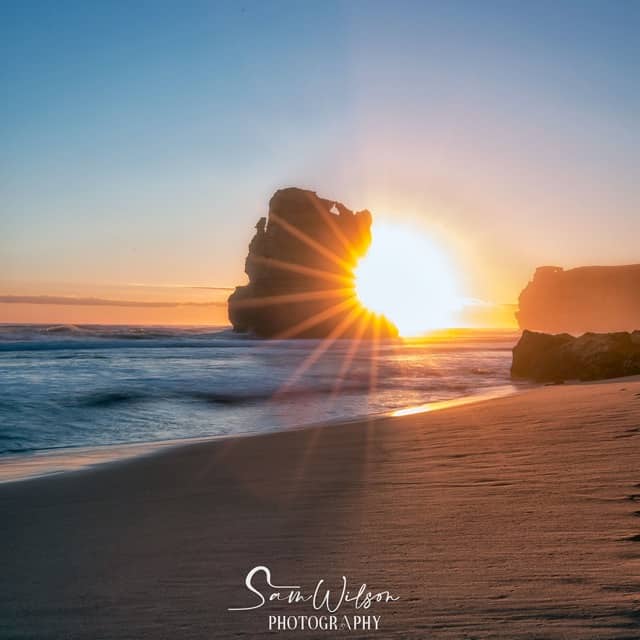
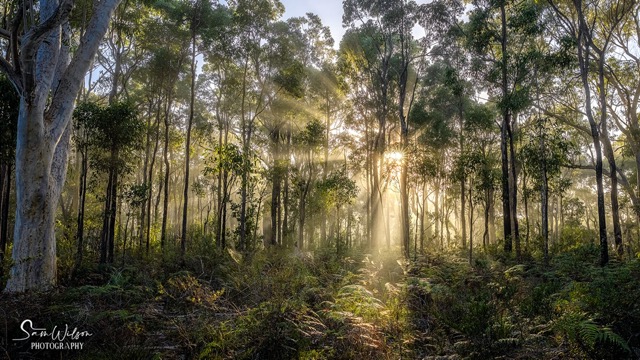
Use a small but intense light source. The sunstar effect is better when the sun is smaller. Think when the sun is just appearing over a mountain or behind another object in your frame such as in between tree branches. Sunrise and sunset are perfect times to capture sunstars.
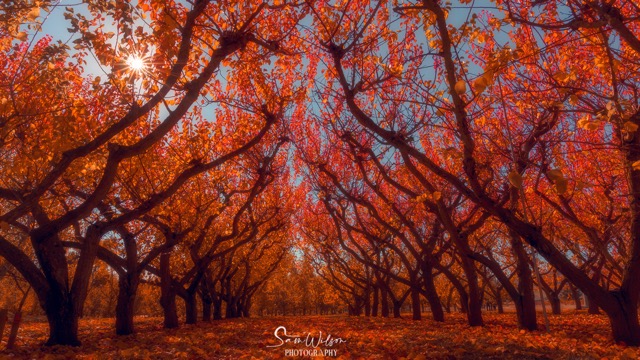
Sunstars can also be created in the middle of the day like this gorgeous orchard in New Zealand.
Try to block the sun with another subject. The effect will be best when it is peeking out from behind another object. This helps with the sunstar effect, but also helps to tone down the strength of the sun.
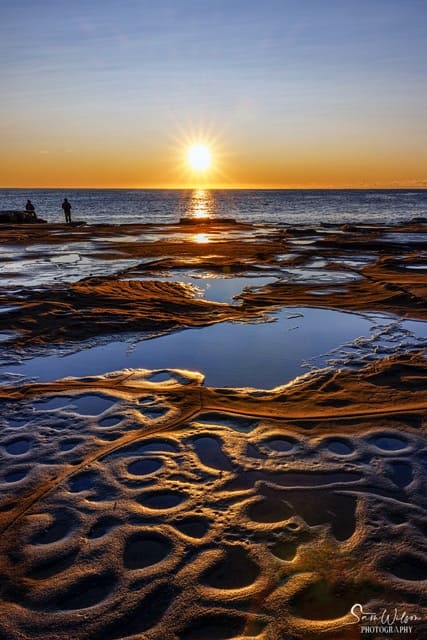
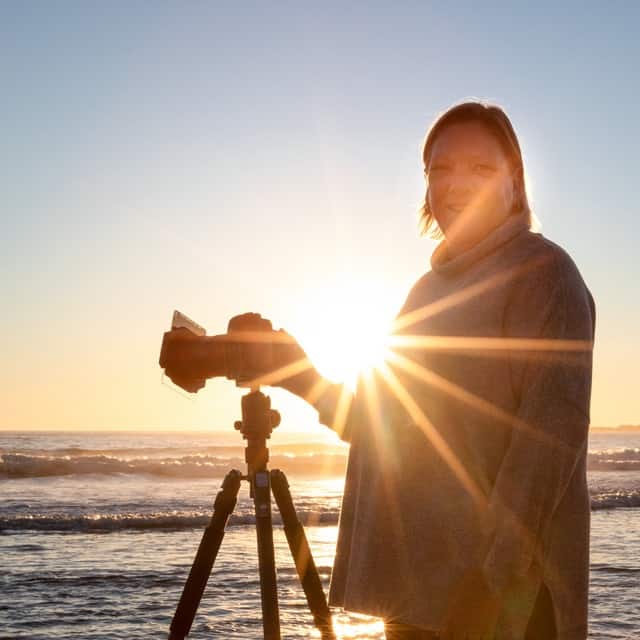
You can still get sunstars with the sun a bit higher in the sky, but the effect is not as striking – in my opinion anyway
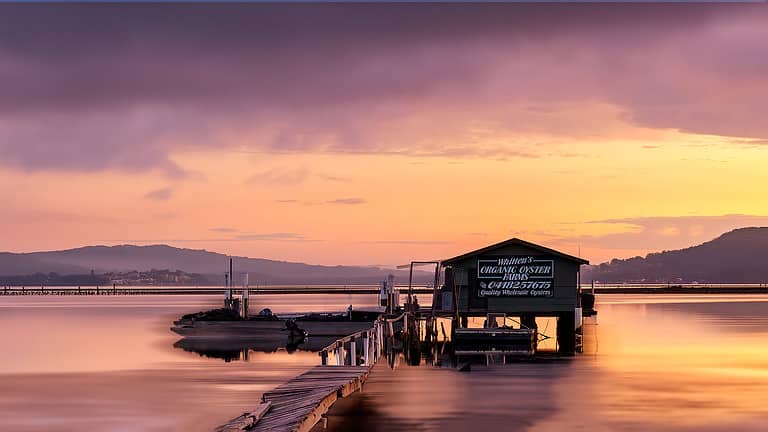
- Clear weather is best as any haze or fog will greatly affect the sunstar effect
- BUT, don’t discount some fog or haze in the atmosphere as it can produce some lovely effects as well. There’s always exceptions to any rule in photography lol.
- Don’t forget about the overall composition of your image. What is the main thing you want to focus on to support the sunstar in your image?
- For the most impact, try to keep the rest of your image simple. Remove any distractions in your frame wherever possible.
- Make sure you move around to capture the sunstar from the best angle.
- Keep in mind that staring into the sun for lengths of time can be dangerous to you and your lens. There shouldn’t be any issues taking just a few photos, but something to be aware of.
- That’s it – easy peasy!
- Most importantly, have fun with it!
It’s also important to note that the quality of your lens has an impact on the quality and appearance of your sunstars. Sadly, it’s unlikely you will capture one with your phone. Wide angle lenses can produce better sunstars, but they can also be created with longer telephoto lenses, so have a play.
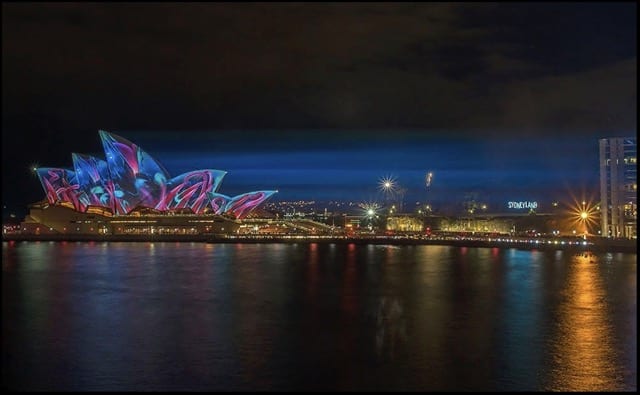
They can also be created with streetlights and other light sources, so I guess ‘starburst’ would be a better description than sunstars in those cases. The same principles apply, you would just need to adjust your settings with the light.
You won’t need to worry about blocking out the light at night since your light source won’t be as strong as the sun. But you will definitely need a tripod.
I hope these tips have given you some confidence and encourages you to get out and play. Sunstars really are lots of fun – and easy once you’ve had a bit of practice.
Have you had any luck with creating sunstars in your images? I’d love for you to let me know in the comments below.
That’s it for now – Keep clicking and stay caffeinated
Don’t miss a post – sign up Here if you haven’t already