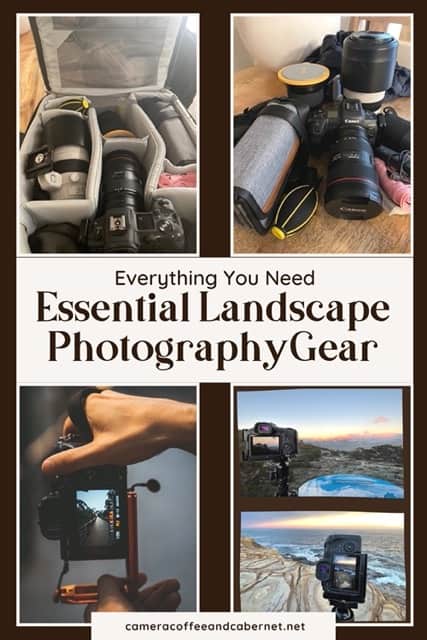
Essential Landscape Photography Gear
Everything You Need For Landscape And Travel Photography
When I first started photography, I bought everything that someone recommended that might improve my photos, but it doesn’t work that way.
I learned very quickly that gear does not make you a better photographer. There is no doubt, however, that having the right gear will help and maximise your opportunities.
Now I’ve got my bag sorted so I have everything I need, without having to carry everything I own.
This post will outline what I consider to be essential landscape photography gear. I’ll also make some recommendations for optional extras to consider.
You do obviously have to consider where you are going as that will influence some things. Packing for a road trip is very different to packing for a trip with weight and size restrictions.
This post will outline the gear that I take with me every time I head out for a shoot. I’ll also make some recommendations for optional extras to consider.
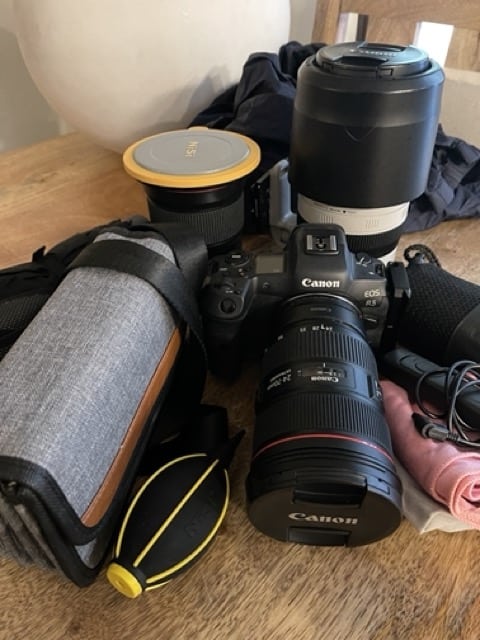
Let’s start with the most basic elements, the camera and lens.
Camera and Lens
You really can use any camera for landscape photography, however there are certain features that will improve the quality of your images.
Also, setting up your camera when you first get it is also a crucial step.
There are of course a number of things to consider, but these are the basic things to research take into account –
- Capability of full manual control. This gives you the ability to make all decisions around exposure. This is especially important when wanting to photograph long exposures like at golden hour and waterfalls.
- Ability to shoot in Raw format. This will give you a larger file with more detail, allowing you to process as creatively as you would like.
- The number of megapixels and sensor size. Higher numbers here will generally improve your image quality and affect how large you can print your images without losing quality.
- If you’re looking to buy a camera that has interchangeable lenses, this is an addition. Most cameras will come with a kit lens (18-55mm for a Canon) which is a good starting point. My two essential lenses are 24-70mm as my wide angle and 100-400mm as my telephoto.
This really is just a basic starting point. I would definitely recommend speaking with your local camera shop rather than going to a large chain. A smaller, specialised business should point you in the right direction.
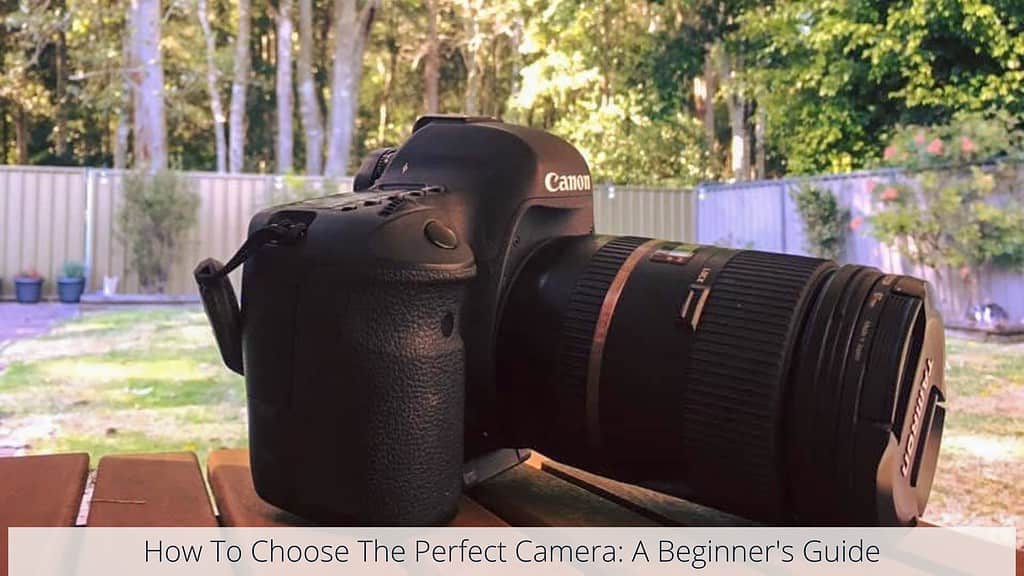
Here’s a couple of guides to help with what you may need, check these out:
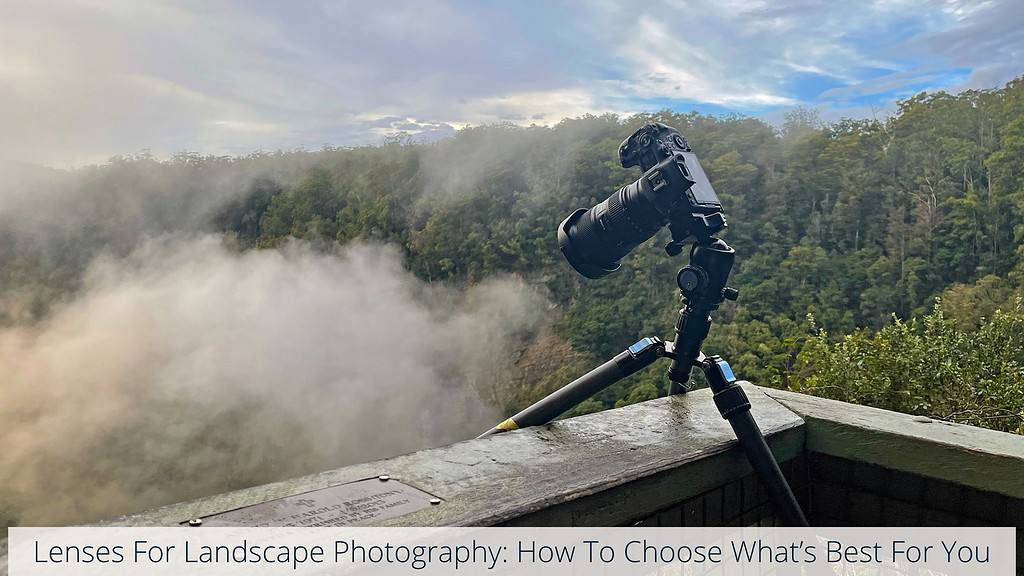
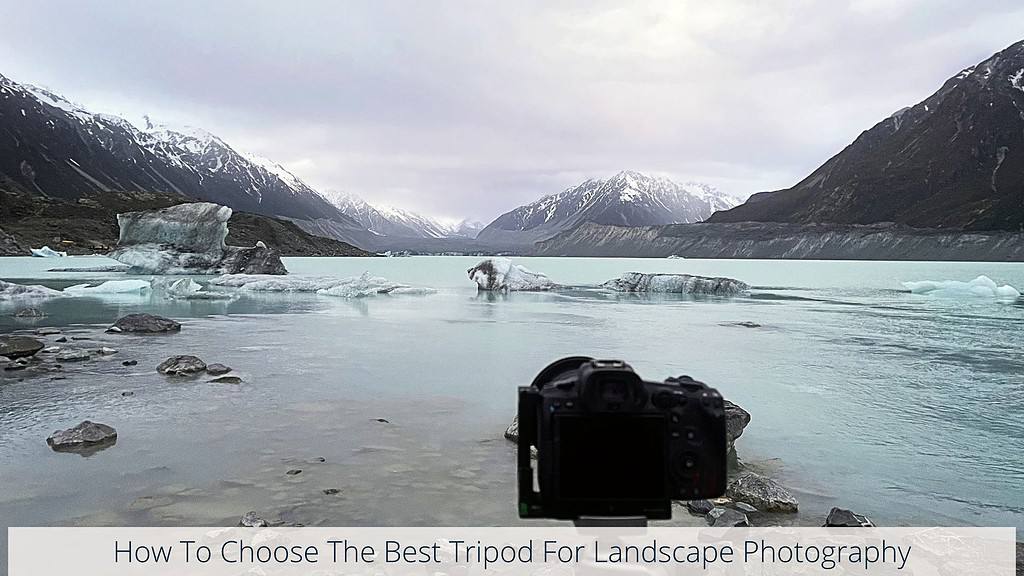
Tripod
A decent tripod really is the most important piece of equipment once you have your camera and lens sorted.
This is something that you should buy at the same time as you buy your camera. They are used in most photography types, but are particularly important for landscape photography.
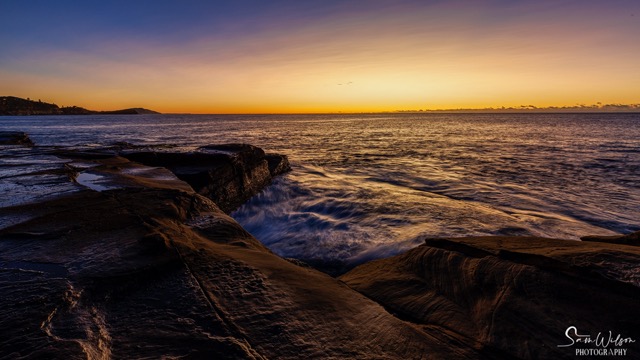
You will use a tripod whenever you want a sharp photo combined with a lower shutter speed.
You can really transform your images by using a slower shutter speed. This is essential under low light situations such as sunrise and sunset . A longer exposure also transforms waterfalls, waves and clouds.
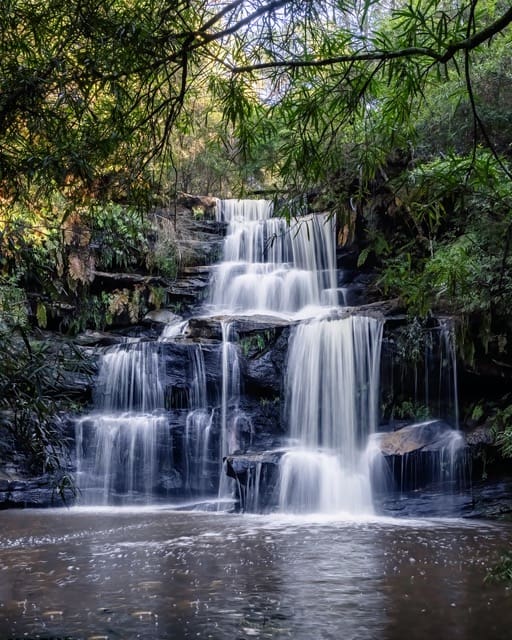
Somersby Falls, Central Coast, NSW, Australia.
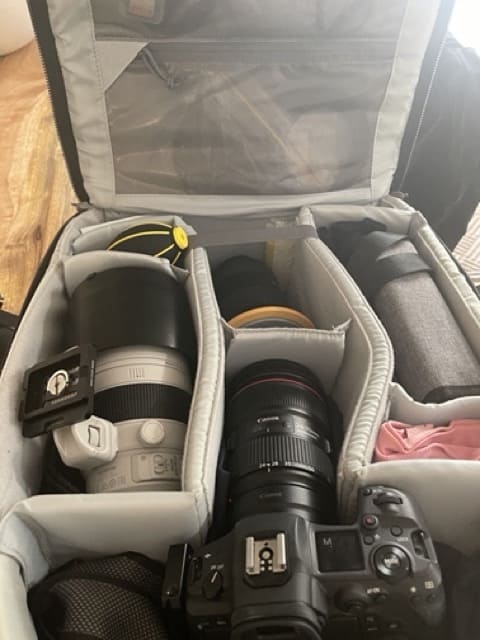
Dedicated Camera Bag
If you have invested in a quality camera and tripod, you will need a dedicated bag to protect your gear.
Consider buying a bag specifically made for photography. These will have padded inserts and padding to protect your gear.
You may need to carry it for a long period of time for landscape photography, so consider a backpack as they are most comfortable for long distances.
Another thing to consider is it being weather-resistant, or at least has a waterproof cover you can use when needed.
There are so many variations available and a bag can be very personal as to how comfortable it is. This is something I recommend buying in person. This way you can try it on for comfort and ensure all the sections suit your needs.

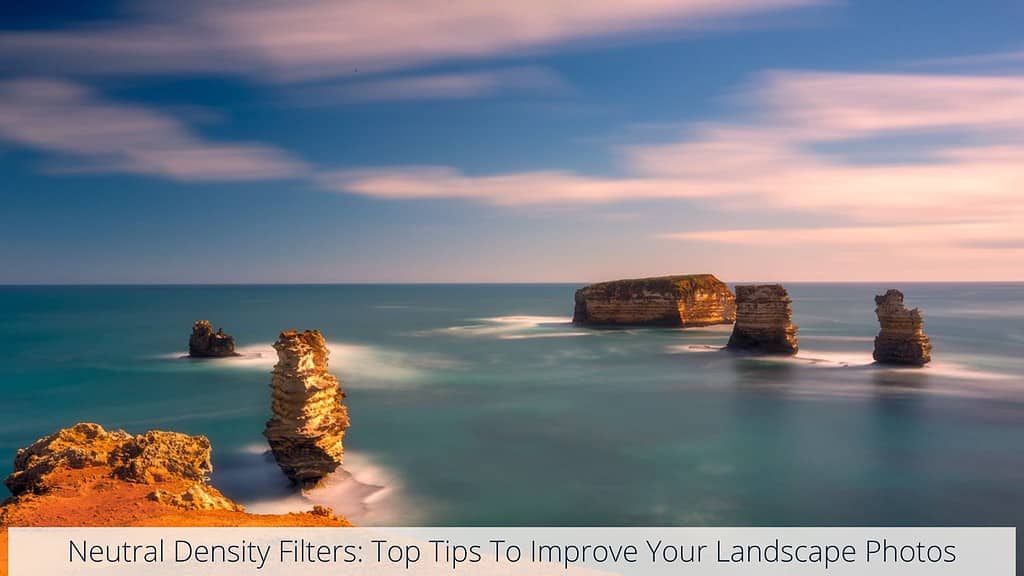
Filters
Lens filters take up so little weight and space, yet can dramatically improve the quality of your photos. As such I consider them an essential part of my landscape photography gear and they are always in my bag.
While I have a kit of several, if I only had to take two they would be a Neutral Density Filter and a Circular Polarising Filter.
As mentioned earlier, using a slower shutter speed to photograph longer exposures really can improve your photos.
Paired with a tripod, Neutral Density, or ND, Filters really assist with this.
ND Filters are basically a tinted piece of glass that goes in front of your lens to decrease the amount of light that enters your camera. This allows us to alter the exposure, which can be critical if shooting during the day or for waterfall photography.
The price, quality and variety of filters is extensive to say the least. As with your tripod and bag, start with the best quality you can afford and only buy one or two.
They come in various densities (or darknesses). Start with a 3 and a 6 stop, or at least a 6 stop if you can only purchase one.
Circular Polariser
A circular polariser is possibly more important than even a ND Filter, and definitely an essential piece of landscape photography gear.
Basically a circular polarising filter is a filter that you attach to your lens that can greatly enhance your photos if used correctly. It cuts down on certain types of light, can improve overall contrast and make colours ‘pop’ in your landscape photography.
Head here to read my full guide on Circular Polariser Filters to see when and how to best use one.
Recommended Addition – Graduated ND Filters
A graduated ND Filter is similar to an ND Filter, but as the name suggests the density is filtered on the glass from dark to clear.
This allows you to darken only part of the image. For example when the sky is brighter than the ground.
While they are a great addition to your landscape photography gear, to me they are optional rather than essential. They can be tricky to use and easy to place in the wrong position.
I tend to use a technique called exposure blending instead. This is because you can also take two photos, exposing one for the sky and one for the ground. You can then blend these together really easily in Lightroom or Photoshop.

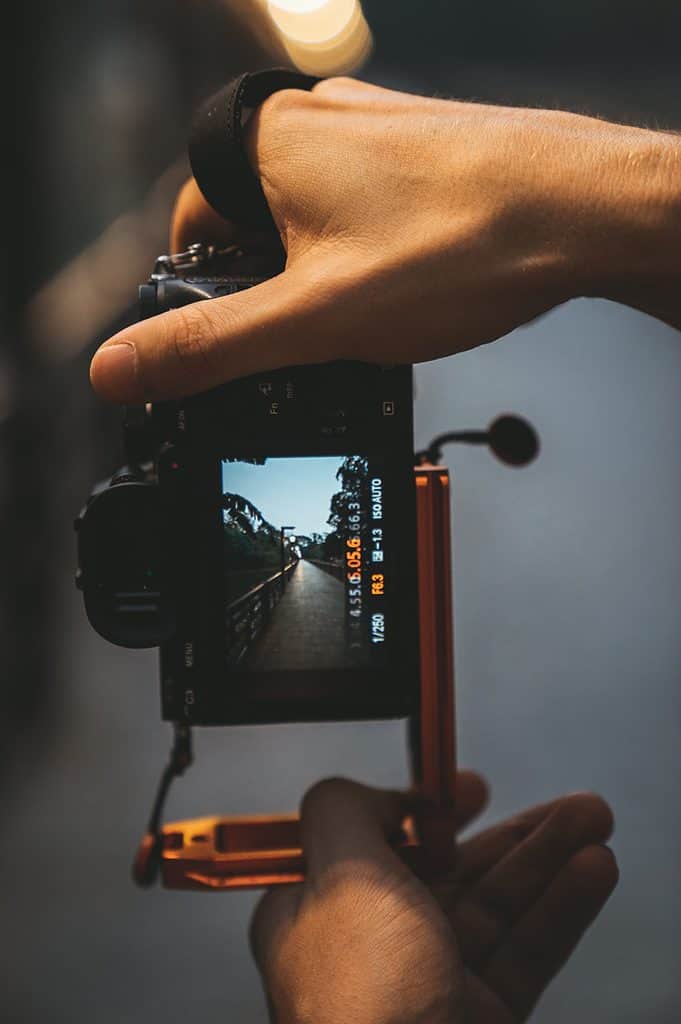
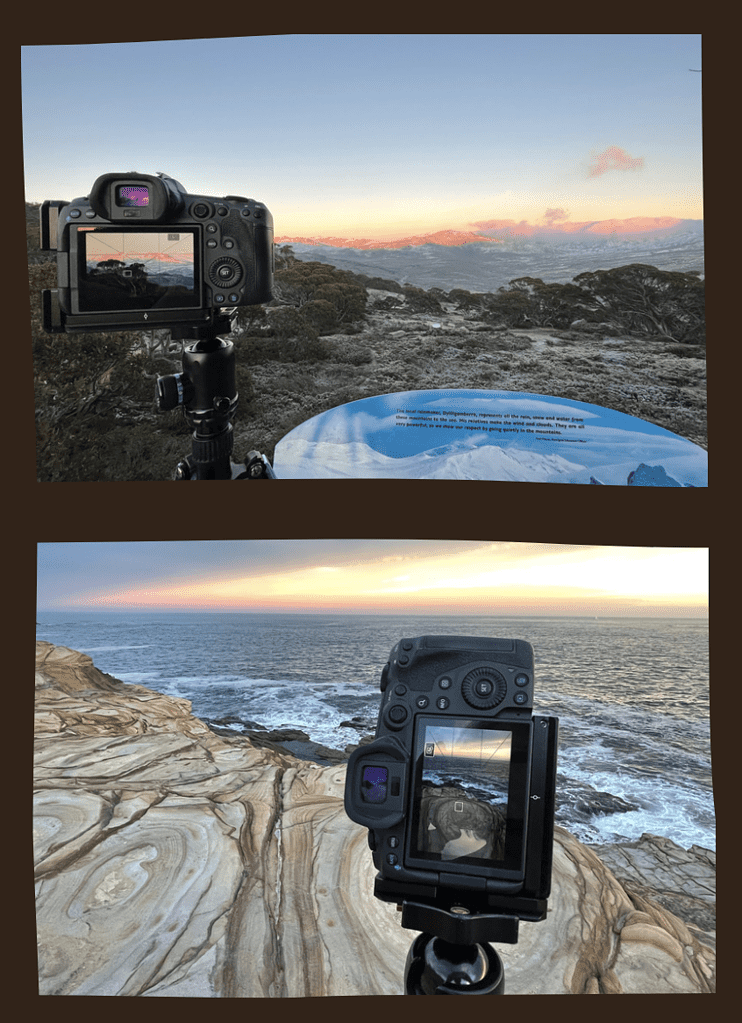
L-Bracket
While a tripod is an essential for landscape photography, I also consider an L-Bracket part of my essential gear.
Tripods are primarily designed for photos to be taken in landscape orientation which can make it tricky to shoot vertical or portrait perspectives which I often like to do.
This is where an L-Bracket comes in. It’s a plate that connects to your camera where your tripod would normally go and it easily enables you to change your orientation.
You can easily switch from portrait to landscape orientation without moving or adjusting the tripod position itself – winning!
Cleaning Kit
No matter how careful you are, your lens will get dirty and/or wet – so be prepared.
This is why carrying a simple cleaning kit is an essential part of your landscape photography gear.
A few simple cleaning cloths can prevent your photos being ruined – keep one in your pocket so you never get caught out!
Extra Memory Cards And Batteries
This probably shouldn’t need saying, but it’s surprising how many people I’ve come across that don’t carry spares.
Once again, they take up hardly any space or weight, but can easily save the day.
Although I’ve not had it happen to me, memory cards can fail. It’s simply not worth the possibility of losing all your photos from a day or trip.
TIP – in really cold weather, keep an extra battery in your pocket. Batteries can drain really quickly in extreme conditions and your body heat can prevent that.
Apps For Photographers
Next up are the planning apps so you can check the weather and conditions ahead of time. If time allows, use the long term forecast and go on the day(s) that offer the best chances of a good sky.
The best photography really does come from having a plan. That’s especially the case when it comes to landscape photography.
Whether you’re planning photos for your next trip or a shoot around the corner in your local area, there’s a lot you can do to set yourself up to have the best conditions possible.
Weather
This will mean using a reliable weather app on your phone. My two recommendations are Willy Weather and Cloud Free Night.
Willy Weather covers general weather conditions and rain forecasts. It also has sunset/sunrise times and tides and swell for seascape shoots.
Clear Outside predicts cloud coverage and fog. For clouds you are particularly interested in having high clouds to give you the best chance for a colourful sunrise or sunset.

The Photographers Ephemeris 
Willy Weather 
Clear Outside


Sun Location
Using either Photo Ephemeris or Photopills will show you what position in the sky the sun will rise and set on any particular day.
This means you can plan your trip around when the sun will be in the best position in the sky for the photos you are aiming for.
Tides
For seascape photography it’s essential that you know the tide times. The conditions can change dramatically so make sure you check this on Willy Weather.
This can be particularly important from a safety perspective. Some locations are only accessible at low tide, so you really need to know the times you can safely photograph at your location.
Software
After your shoots, you need a system, to download your images, save, backup and process your images so they are ready to share online or print.
This is where the software comes in.
There are so many programs out there, and this is not the post for that, but check out this post on developing a photography workflow to get you started.
Other Landscape Photography Gear And Accessories
Rain Cover
No matter where you go or what you photograph, you’ll inevitably encounter some rain at some point during your photography adventures, regardless of how much planning you do.
This can particularly be true when you are travelling and may never return there.
Fortunately, rainy days
don’t have to stop you from taking photos! Having a simple rain cover in your bag will keep you shooting regardless if it’s raining.
Head Lamp Or Torch
If you are shooting during the golden hours and blue hours, chances are that you will be going to the location in darkness if it is morning and will be leaving the location when dark if it is evening. So it is always advisable to have a headlamp so you can find your way around in the dark.
Clothing Suitable for the Environment
You certainly don’t need specific clothing for your landscape photography, but you do want to consider wearing gear that will keep you as comfortable and dry wherever possible.
Don’t forget your feet, so make sure your shoes are sturdy, comfortable and preferably waterproof. Wet, sore feet can quickly ruin your day and it’s just not worth it!
Conclusion
So now it’s time to pack that bag and get out to take some photos!
Having your bag filled with all the landscape photography gear you need really helps you relax and focus on taking awesome photos.
Everything listed above will help your photography, but don’t think you have to buy everything at once. Start with the absolute basics and add to it as you go.
Obviously you have to have your camera and lens. I would also say a tripod and cleaning gear is also first up. You can slowly build your kit up from there.
Most of all is that you get out there and have fun!
What do you consider to be your essential landscape photography gear? Let me know in the comments below.
That’s it for now – Keep clicking and stay caffeinated
Like this post? PIN it so you can save it for later
Here’s some more articles and resources I think you’ll like:
- Landscape Photography On A Budget: Best Tips On Essential Gear
- Guide To Photographing Waterfalls
- Guide To Sunrise And Sunset Photography
- Planning A Photography Shoot
- When And How To Use A Circular Polariser
- Best Apps for Planning and Scouting Landscape Photography Locations
Don’t miss a post – sign up Here if you haven’t already
Note – This post does not contain any sponsored or affiliated links. All suggestions and opinions are mine. Unless otherwise stated, all photos are mine and remain my copyright images – Sam Wilson Photography.