Exposure Bracketing: When and How To Use It For Better Landscape Photos
One of the trickier parts of landscape photography is figuring out how to correctly expose your shot when the lighting isn’t ideal.
This is a common occurrence when shooting outdoors as we are often shooting where there is a bright sky and a darker foreground. It becomes difficult to correctly expose an image in a single exposure when faced with these conditions.
That ‘s where exposure bracketing comes in.
Exposure bracketing in landscape photography is a technique where multiple photos are taken of the same scene with different exposure settings. This is done to capture a wider range of light and dark tones in the image, which can then be combined in post-processing to create a final image with more detail and dynamic range.
This may all seem a bit intimidating right now, but don’t worry, it’s a lot simpler than it sounds.
This article will outline why, when and how you should use exposure bracketing to achieve perfectly exposed landscape photos. So let’s get going!

What Exposure Bracketing Is
Exposure bracketing in landscape photography is a technique where multiple photos are taken of the same scene with different exposure settings. This is done to capture a wider range of light and dark tones in the image, which can then be combined in post-processing to create a final image with more detail and dynamic range.
Exposure bracketing is a valuable technique in landscape photography to ensure your photos are perfectly exposed every time.
By taking multiple images of the same scene with different exposure settings, you can capture the best possible results for the varying lighting and tonal range. This method allows you to choose the most accurate image later in post-processing, giving you greater creative control over your final landscape photos.
Typically, three shots are taken: one at the camera’s recommended exposure, one slightly underexposed, and another slightly overexposed. Adjusting the exposure can be done by changing the shutter speed, aperture, or ISO settings.
Making these adjustments allows you to effectively manage your camera’s dynamic range.
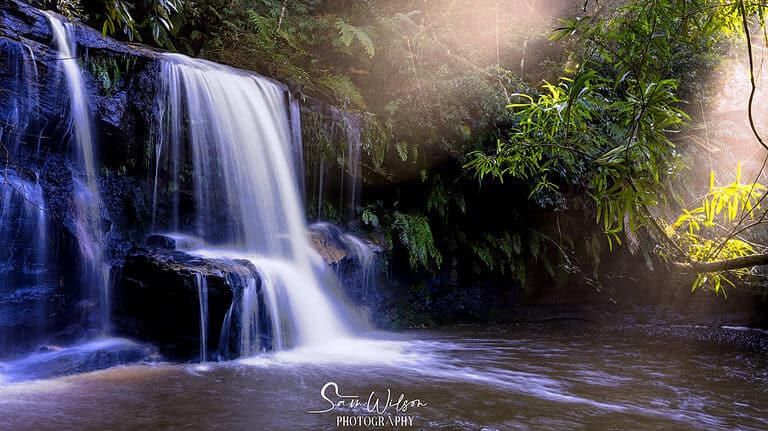
Learning this technique really was one of those ‘lightbulb moments’ that changed my photography. It even led to me having my first image printed large on acrylic that hangs on my wall and makes me smile every time I see it:
Why Exposure Bracketing is Useful in Landscape Photography
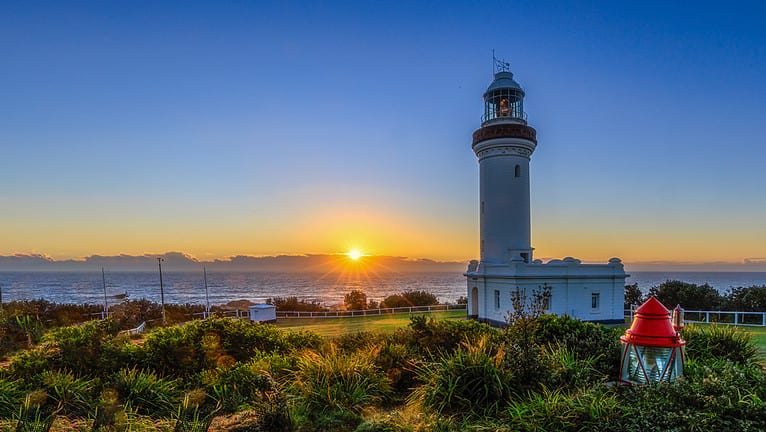
In landscape photography, you often face challenging lighting conditions.
The sky may be much brighter than the landscape, or the shadows might be too dark to reveal any detail. With exposure bracketing, by taking multiple shots at different exposure levels, you can ensure that you have at least one sharp image with good exposure for each part of the scene.
This allows you to create an evenly exposed final image that captures all the details of the landscape.
Once you’ve captured your bracketed images, you can then use exposure blending to merge them into an HDR (High Dynamic Range) image using software like Adobe Camera Raw or Lightroom.
During this process, the software combines the best-exposed parts of each image to produce a single, well-exposed photograph with enhanced detail from the shadows to the highlights.
When to Use Exposure Bracketing in Landscape Photography
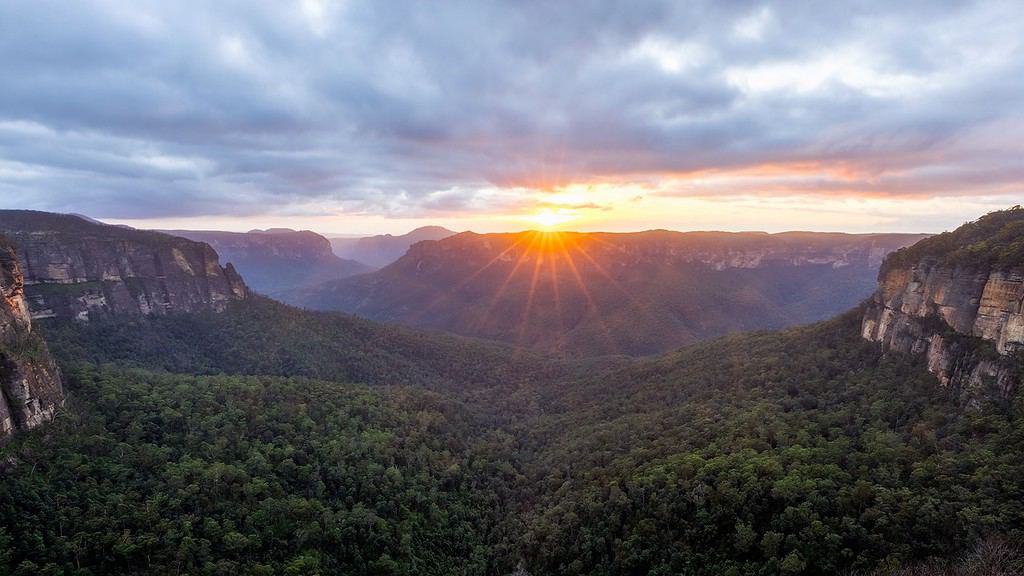
In landscape photography, you’ll often encounter high contrast scenes where the difference between the brightest and darkest parts of the landscape is too large for your camera to handle in a single exposure.
This is where exposure bracketing comes into play. By taking multiple photos with different exposure levels, you can ensure that you capture all the necessary details in both the highlights and shadows of your scene.
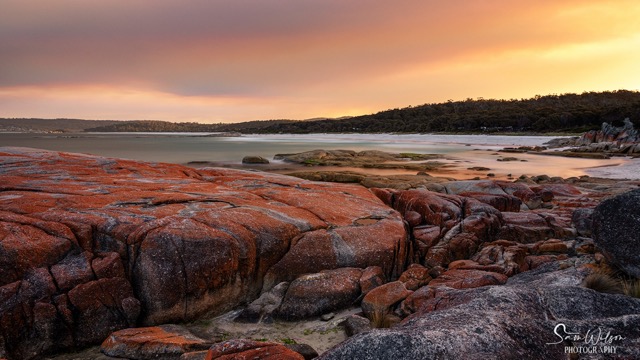
For example, imagine you’re photographing a dramatic sunset with dark foreground elements. Without exposure bracketing, you might end up with either blown-out highlights in the sky or an underexposed, murky foreground.
By using exposure bracketing, you can capture a range of exposures and later merge them in post-processing to create a perfectly balanced image.
Bracketing provides a solution by offering a range of exposures, each meticulously tailored to retain those details that might have been lost otherwise.
Automatic Exposure Bracketing (AEB)
Most cameras come with an Auto Exposure Bracketing (AEB) feature, so go through your manual to find it in your specific camera.
Then all you need to do is tell the camera how many images you would like to take in the series (this can range from 2 to 9 or more), and the difference in stops you would like in each shot.
I generally like to bracket three images starting with the properly exposed image, one that is 1-stop underexposed and the final image that is 1-stop overexposed.
It’s worth noting that the composition of the images should remain consistent since the camera will capture multiple shots of the same scene. Make sure to mount your camera on a tripod to achieve this.
Finally, set the self-timer or use a remote shutter release to minimise any camera shake during the exposure bracketing process.
This helps you achieve sharper and better-quality images from your landscape photography.
Manual Exposure Bracketing: Step-By-Step
Don’t stress if your camera doesn’t have the AEB feature. You can easily do exposure bracketing manually.
Make sure you’re only adjusting the shutter speed when changing the exposure – that’s the key here!
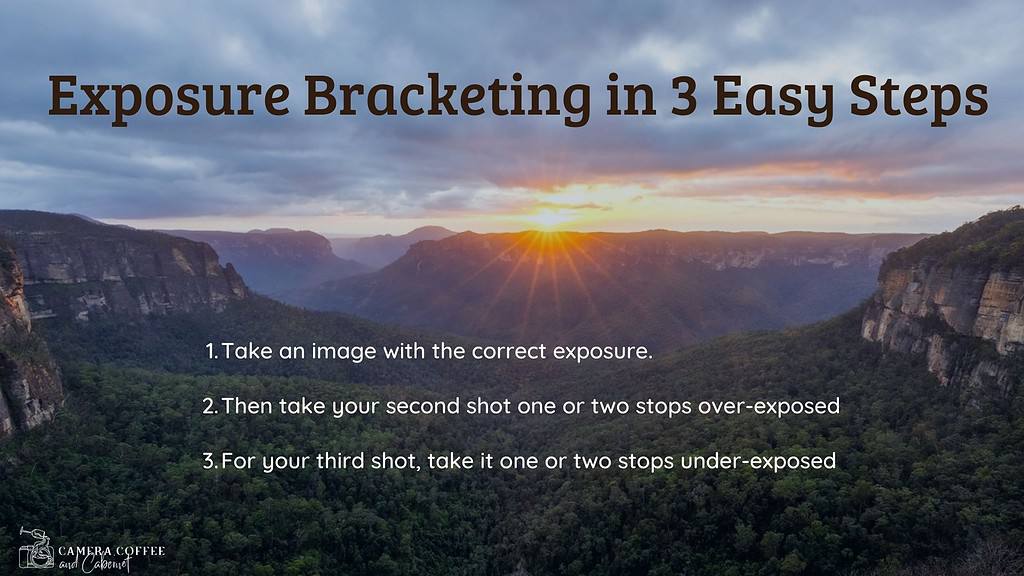
Here’s how it’s done:
- Take an image with the correct exposure.
- Then take your second shot one or two stops over-exposed
- For your third shot, take it one or two stops under-exposed
Just a quick reminder: When you follow these steps, make sure you don’t change the composition. We want to keep everything the same apart from the shutter speed so it’s a seamless exposure blending process when you get to edit them.
Use either a remote shutter release or your camera’s self-timer to avoid camera shake when pressing the shutter release button.
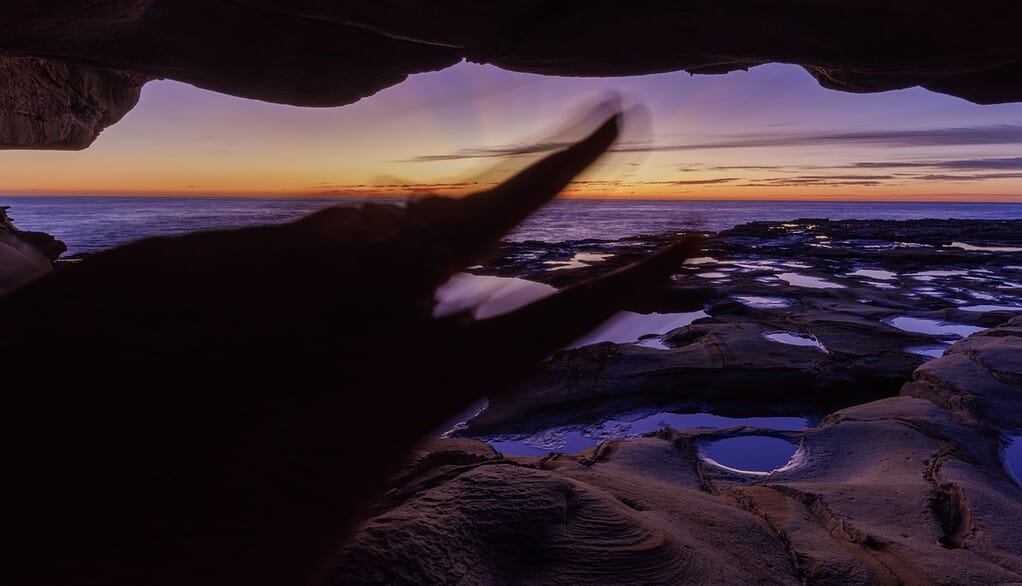
TIP: Take a photo of your hand before and after your bracketed set of images to help you identify them easily when you go to process them.
Aperture Priority
If you’re not comfortable shooting in manual mode, you can also perform exposure bracketing using the aperture priority mode. Here’s how you can do this:
- Set your camera to aperture priority mode and select your desired aperture.
- Capture an image with the correct exposure.
- Use the exposure compensation dial to adjust the exposure level by ±1 stop for overexposed and underexposed images.
How to Post-Process and Merge Your Bracketed Images
Now that you’ve got your series of photos to merge, it’s time to put them together and make some magic!
Your bracketed images can be blended in almost any post-processing software, but for this guide I’m going to show you how to do it using Lightroom.
You can also follow the same process in Adobe Camera Raw which is part of Photoshop.
- Import your images into Lightroom
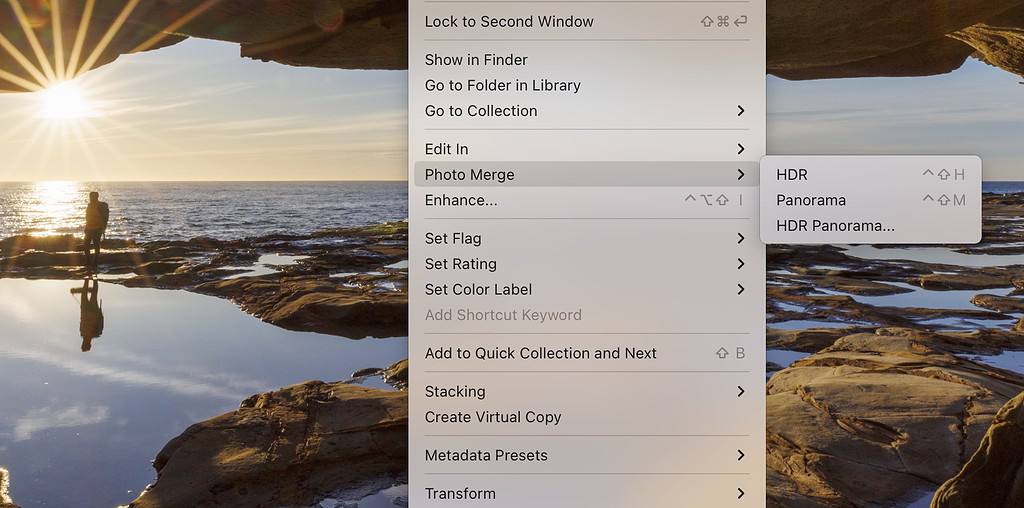
- Select the images that you want to be merged by holding the shift key while you click on each image.
- Right-Click and select Photo Merge, then HDR
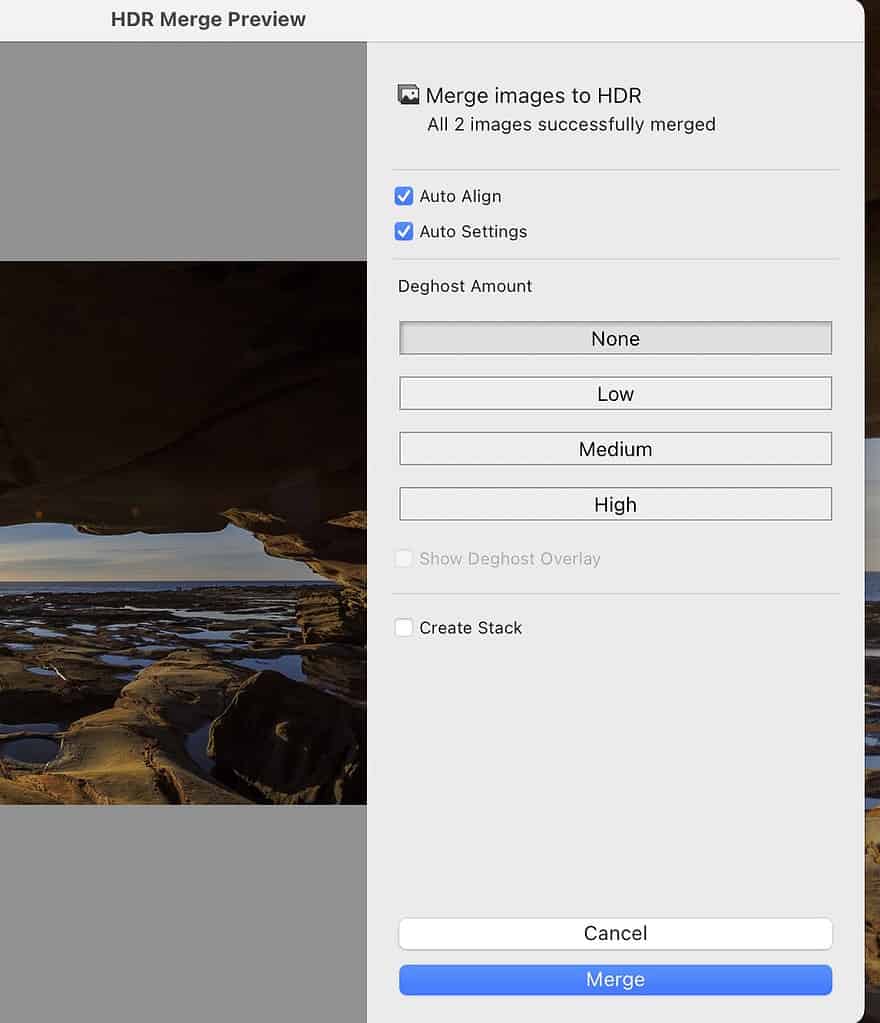
- Make sure Auto Align and Auto Settings are ticked. This will allow Lightroom to align them just in case there was any slight movement between taking the images.
- Leave Deghost amount to none unless there are any moving objects in your images. In this case, try your options and choose the best one.
- Select Merge
Let Lightroom work its magic and it will produce a third image that is the blend of those photos you selected to be merged.
Note, that you will still have your original images untouched, so this is a completely non-destructive process.
If you want to keep your final image looking as natural as possible, stick to only blending two or three images. More than this, and your final image will really look over-cooked.
Now, you might be asking if you could achieve the same result with simply editing the single image taken at the proper exposure.
Not really. Merging your images in Lightroom not only balances out your shadows and highlights, it really brings out all the details and richness of both images. I encourage you to experiment with this and would love you to let me know your thoughts.
Once Lightroom has produced your HDR image you can now go ahead and edit it as you would any of your single images. It will be a DNG file (link to Adobe definition) which is a RAW file.
FAQ’s
Can exposure bracketing be used for other types of photography besides landscapes?
Yes, exposure bracketing can be used for other types of photography, such as architecture, interior, and real estate photography, where there may be a wide range of brightness in the scene. It can also be used for portrait photography, where you want to capture details in both the highlights and shadows.
Is exposure bracketing necessary if I shoot in RAW format?
Shooting in RAW format gives you more flexibility in post-processing to adjust the exposure and recover details in the shadows and highlights. However, exposure bracketing can still be useful in challenging lighting conditions, especially if you want to capture the full dynamic range of the scene without sacrificing image quality.
Should I shoot in RAW when exposure bracketing?
Yes, shooting in RAW format is recom
mended when exposure bracketing because it gives you more flexibility in post-processing to adjust the exposure and recover details in the shadows and highlights. RAW files contain more information than JPEG files, allowing you to make more significant adjustments without degrading the image quality.
How many exposure bracketed shots do I need to take?
The number of exposure bracketed shots you need to take depends on the scene and the dynamic range of the lighting conditions. In most cases, three shots (-1, 0, +1) are sufficient to capture the full dynamic range. However, in high-contrast scenes, you may need to take more shots to ensure that you capture all the details.
Can I use exposure bracketing with my phone?
Many phone cameras have a built-in HDR (High Dynamic Range) mode that automatically takes multiple shots at different exposures and combines them into one image. However, the results may not be as good as using a dedicated camera and manually bracketing exposures.
Conclusion
And that’s it – now you know what exposure bracketing is all about – and even better, how to get out there and try it for yourself.
So now all you have to do is get out there with your camera and have a go. Find some high dynamic range scenes (hint: sunrise and sunset are perfect), take your bracketed shots and process them using Lightroom’s HDR Merge function.
Please let me know in the comments below how you go – I’d love to see and hear about your results!
That’s it for now – Keep clicking and stay caffeinated
Like this post? PIN it so you can save it for later
Other Posts You Might Like:
- Understanding Exposure: Landscape Photography Exposure for Beginners
- The Beauty Of Long Exposure Landscape Photography
- Sharp Landscape Photos: Everything You Need To Know
- The Importance Of Clouds In Landscape Photography
- Neutral Density Filters: Top Tips To Improve Your Landscape Photos
- Exposure Compensation: How To Use It For Better Landscape Photos
- Landscape Photography Guide
- 15 Helpful Landscape Photography Guides For Beginners
- Sunset Photography for Beginners: Tips and Best Camera Settings
- Golden Hour Landscape Photography
Are you a beginner landscape photographer looking to improve your skills and capture stunning photos of nature?
If so, “The Landscape Photography Handbook – Exploring the Wonders of Nature” is the perfect guide for you.
In this 90-page ebook, you’ll learn everything you need to know to get off auto mode and start using manual settings to capture stunning photos of nature.
Don’t miss a post – sign up Here if you haven’t already
Note – Unless otherwise stated, all photos are mine and remain my copyright images – Sam Wilson Photography.