Landscape Photography Terms: The Ultimate List For Beginners
This article is all about understanding the myriad of landscape photography terms that may seem like another language when you’re just starting out.
Landscape photography is a journey filled with learning and discovery, where knowing the right terms can significantly enhance your experience and outcomes.
As you start this journey, there’s a lot to learn, and it can seem overwhelming,
On top of learning how to use your camera and which settings to use, you then have to understand all the terms and expressions that other photographers are using all the time.
This guide aims to introduce you to essential landscape photography terms, making them easy to understand for beginners.
Before we dive in, I wanted to share a special freebie for you if you’re also new to photography.
It’s my FREE Exposure Quick Start Guide designed to get you started in your journey by learning the elements of exposure and start taking better photos – Fast!
The Exposure Triangle: Understand the foundation of great photography.
ISO: Learn how to master light sensitivity to enhance your shots.
Aperture: Explore the world of depth and focus.
Shutter Speed: Capture life’s moments with precision.
On-The-Go Cheatsheet: Your handy companion for quick reference in the field
This FREE instant PDF Download will set you up for great photos, so grab it now.

Aperture
Aperture refers to the opening within your lens that controls how much light reaches the camera’s sensor. It’s like the pupil of an eye, widening or narrowing to let in more or less light.
Alongside shutter speed and ISO, aperture is vital in shaping the exposure and overall look of your images.
Aspect Ratio
Aspect Ratio describes the proportional relationship between the width and height of your photo.
It’s essentially about the shape of the images you capture, represented by two numbers separated by a colon (e.g., 3:2, 4:3, 16:9).
These ratios are a fundamental consideration in photography that helps ensure your vision is accurately conveyed, whether it’s being viewed on a screen, in a frame, or as part of a photo book.
Bokeh
Bokeh is a term borrowed from Japanese that refers to the aesthetic quality of the blur in the out-of-focus areas of a photograph.
This effect is particularly noticeable in the background highlights and provides a soft, pleasing quality to the image, helping to draw attention to the subject in focus.
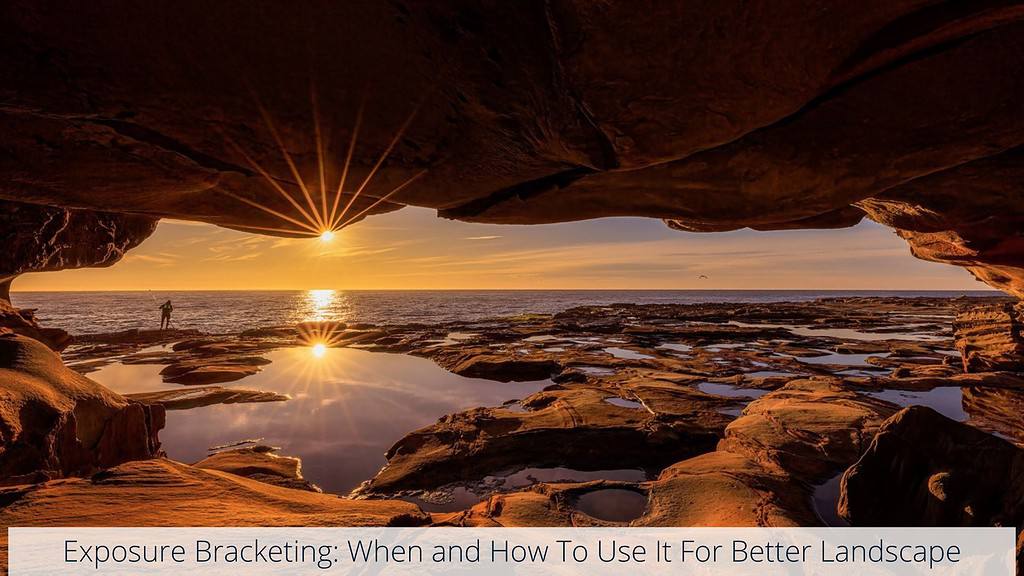
Bracketing
Bracketing is a technique used to ensure you capture the perfect exposure under tricky lighting conditions.
It involves taking multiple shots of the same scene at different exposure levels: one at the camera’s suggested exposure, then additional shots underexposed and overexposed.
This method is invaluable for high-contrast scenes where achieving balanced highlights and shadows in a single shot is challenging.
Bulb Mode
Bulb Mode allows for long exposure times beyond the camera’s preset limits, giving you control over how long the shutter stays open.
By selecting bulb mode and pressing the shutter button, the shutter remains open until you release the button, making it perfect for capturing night skies, streaking lights, or other low-light scenes where a standard exposure time doesn’t suffice.
Using bulb mode typically requires a tripod to prevent camera shake and a remote shutter release or your camera’s timer to minimise movement when opening or closing the shutter.
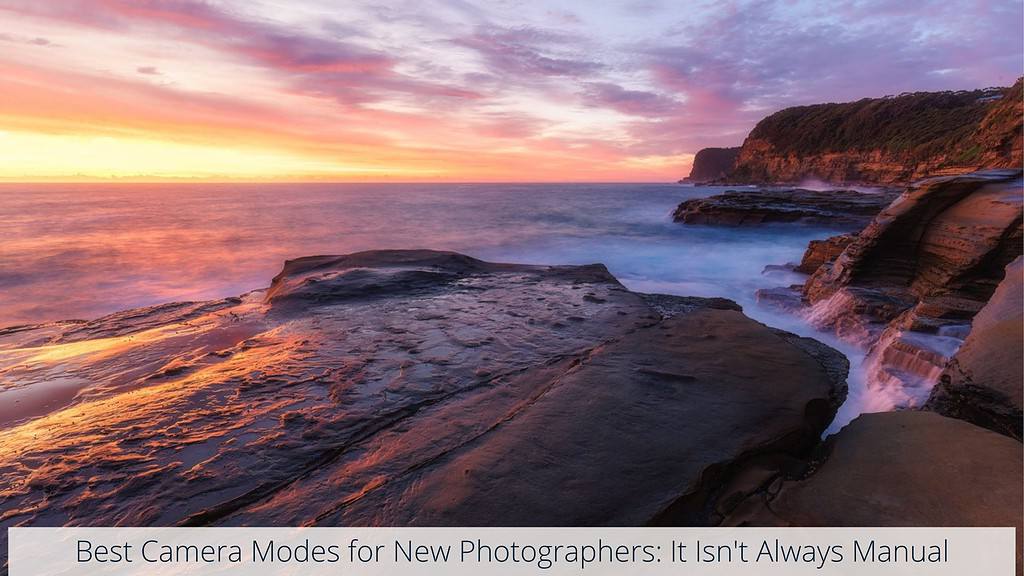
Camera Modes
Modes on a camera determine how much control you have over the exposure settings, including aperture, shutter speed, and ISO.
Selecting the right mode can significantly impact the outcome of your landscape photographs, allowing you to adjust how the camera behaves based on the scene you’re capturing.
Auto
mode lets the camera make all the decisions for you, automatically selecting what it considers the best settings for aperture, shutter speed, and ISO.
Aperture Priority mode
Aperture mode allows you to set the aperture, while the camera automatically selects the shutter speed to match.
Shutter Priority mode
Shutter mode lets you choose the shutter speed, and the camera automatically adjusts the aperture accordingly.
Manual mode
Manual gives you complete control over all exposure settings, including aperture, shutter speed, and ISO.
Using manual mode requires a good understanding of how these settings interact but offers the greatest level of creative freedom to achieve precisely the look you want in your landscape photos.
Clipping
Clipping occurs when the brightness levels in an image exceed the maximum or minimum data range that a camera sensor or image format can record, leading to areas of complete black or white where detail is lost.
In the context of highlights, it’s often referred to as “blown out” highlights, where bright areas lose all texture and colour.
Similarly, shadows can clip to pure black, obscuring details in darker regions of the image.
The goal is usually to preserve detail across the tonal range of your photographs, and prevent clipping.
Composition
Composition in photography refers to how elements within a photograph are arranged and presented to the viewer.
It’s the art of organising subjects and objects in a way that makes the image visually appealing and directs the viewer’s attention to the intended focal point.
Good composition can transform an ordinary scene into a compelling photograph, guiding the eye through the image and emphasising the subject effectively.
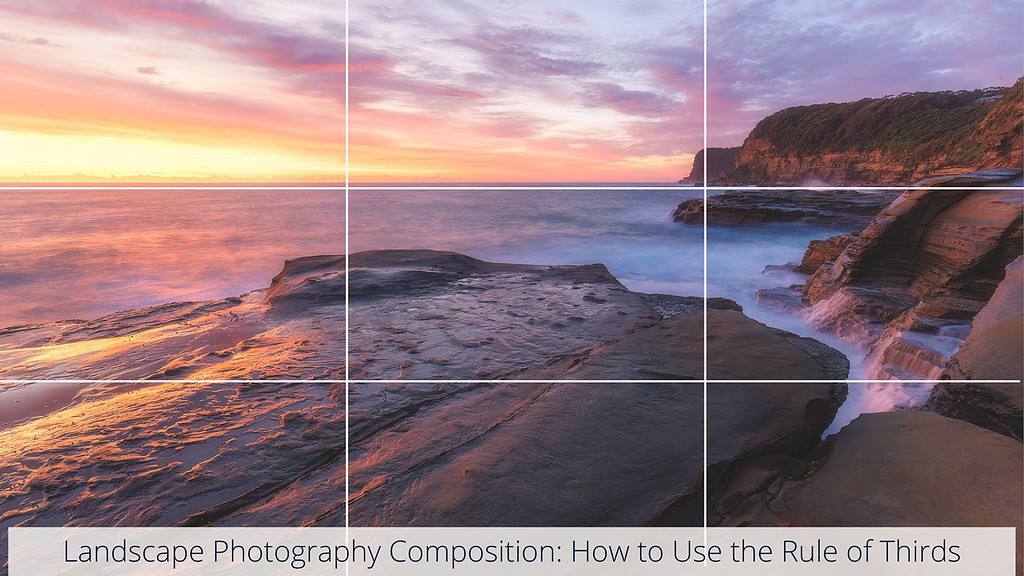
Rule of Thirds
This principle involves dividing the image into nine equal segments by two vertical and two horizontal lines.
Placing your subject or important compositional elements along these lines or at their intersections can create a more balanced, natural, and engaging photo.
Leading Lines
Use natural or man-made lines in your scene, like roads, pathways, or rivers, to draw the viewer’s eye towards the main subject or through the image.
Leading lines are powerful compositional tools that can add depth and perspective.
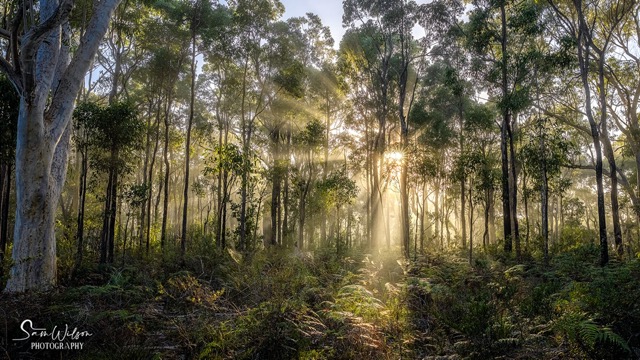
Frame Within A Frame
This technique involves using elements within the scene to create a frame around your subject.
This can be anything from tree branches to windows, helping to isolate the main subject from the surrounding environment and focus the viewer’s attention.
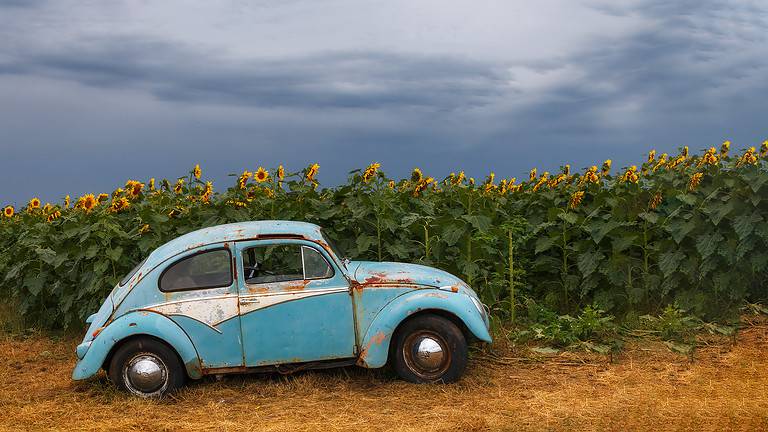
Depth Of Field
Depth of Field (DoF) is the amount of your photograph that appears sharp from front to back.
A shallow depth of field means that only a small part of the image (usually the subject) is in focus, with the background and foreground blurred, which is great for portraits or highlighting a specific detail.
A deep depth of field keeps more of the scene, from the foreground to the background, in sharp focus, ideal for landscape photography to capture the full detail of the scene.
Dynamic Range
Dynamic Range refers to the range of light intensities from the darkest shadows to the brightest highlights that a camera can capture in a photo.
It’s a measure of how well details can be preserved in those extreme light and dark areas within the same shot.
Cameras with a high dynamic range can capture more details in both, making it easier to handle high-contrast scenes without losing information to clipping.
Exposure
Exposure is the amount of light that reaches your camera’s sensor, determining how bright or dark an image will appear.
In landscape photography, achieving the correct exposure is crucial for capturing the scene’s true beauty, from the subtle hues of dawn to the vibrant colours of sunset.
Aperture
Controls the size of the lens opening, affecting how much light enters the camera.
A wider aperture (lower f-stop number) lets in more light, useful in low-light conditions or to achieve a shallow depth of field, focusing attention on specific details of a landscape while softly blurring the rest.
ISO
Measures the sensitivity of your camera’s sensor to light.
A lower ISO number is used in bright conditions to reduce sensitivity and maintain image quality, while a higher ISO can be helpful in dimmer settings, allowing you to capture the scene without introducing too much noise.
Shutter Speed
Determines how long the camera’s shutter is open to expose the sensor to light. Faster speeds can freeze motion, perfect for capturing the dynamic aspects of nature, like flowing water or rustling leaves, while slower speeds allow more light in, ideal for low-light landscapes or creating a silky effect on moving water.

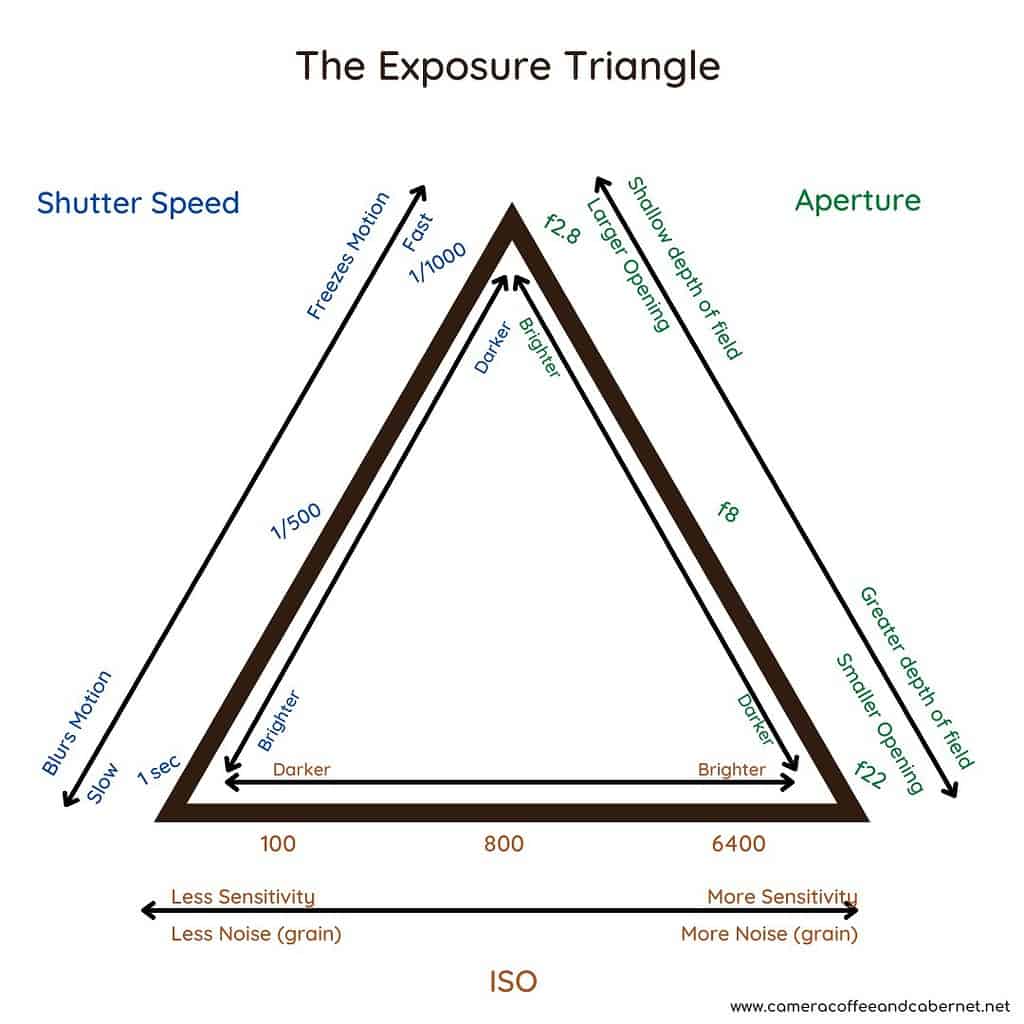
Exposure Triangle
This concept ties aperture, ISO, and shutter speed together, illustrating how they work in harmony to achieve the desired exposure.
Adjusting one element requires compensating adjustments in the others to maintain the same exposure level, allowing you to creatively control the look and feel of your landscape shots.
Exposure Blending
Exposure Blending is a post-processing technique where you combine multiple images of the same scene taken at different exposures into a single photo.
This method is particularly useful in landscape photography for scenes with high dynamic range, like sunsets or sunrises, allowing you to capture detail in both the brightest and darkest areas of the scene.
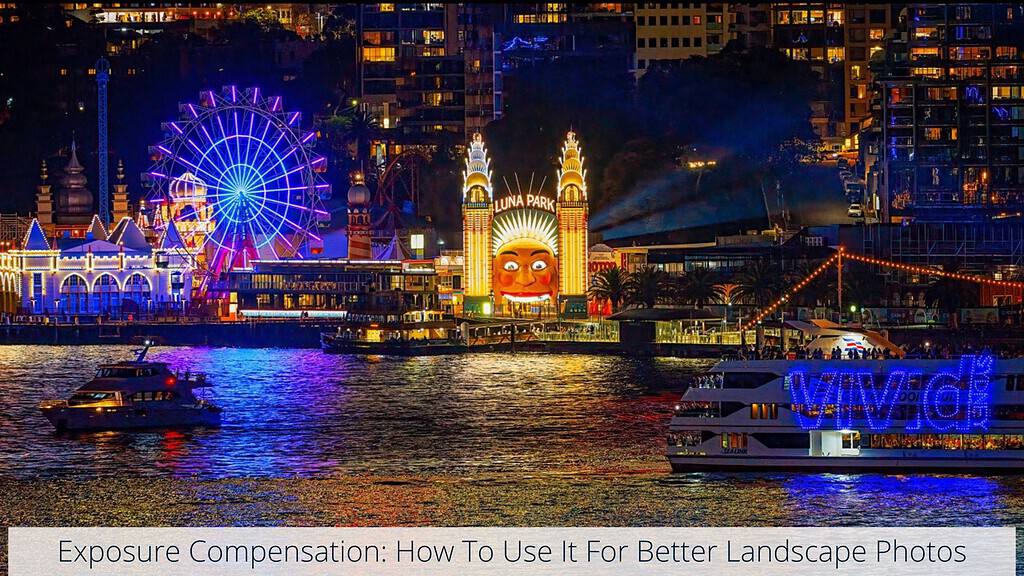
Exposure Compensation
Exposure Compensation is a camera setting that allows you to adjust the exposure level determined by the camera’s metering system.
It’s handy in challenging lighting conditions where you might want to make the scene brighter or darker than what the camera suggests, helping to achieve the desired outcome without manually changing the aperture, shutter speed, or ISO.
Expose To The Right
Expose To The Right (ETTR) is a technique aimed at reducing noise and increasing image quality by intentionally overexposing your image slightly (without clipping highlights) and then adjusting the exposure back down during post-processing.
This approach is beneficial in landscape photography to ensure details are captured even in the darker areas of your image.
if I had to recommend one of these terms as my favourite landscape photography terms, this would be it – it really was a game changer for me.
When I first learned photography I was taught to underexpose images to avoid ‘clipping’ but did not know that this introduced unnecessary noise into my image.
This video by Mads Peters Iversen offers a great explanation on this:
F-Stop
F-Stop refers to the measurement of the aperture size, with each “stop” representing a halving or doubling of the amount of light entering the lens.
F-stops are denoted by numbers like f/2.8, f/4, f/5.6, etc., where lower numbers indicate a wider aperture and more light being let into the camera.
Understanding how to adjust f-stops is crucial for controlling depth of field and exposure in landscape shots.
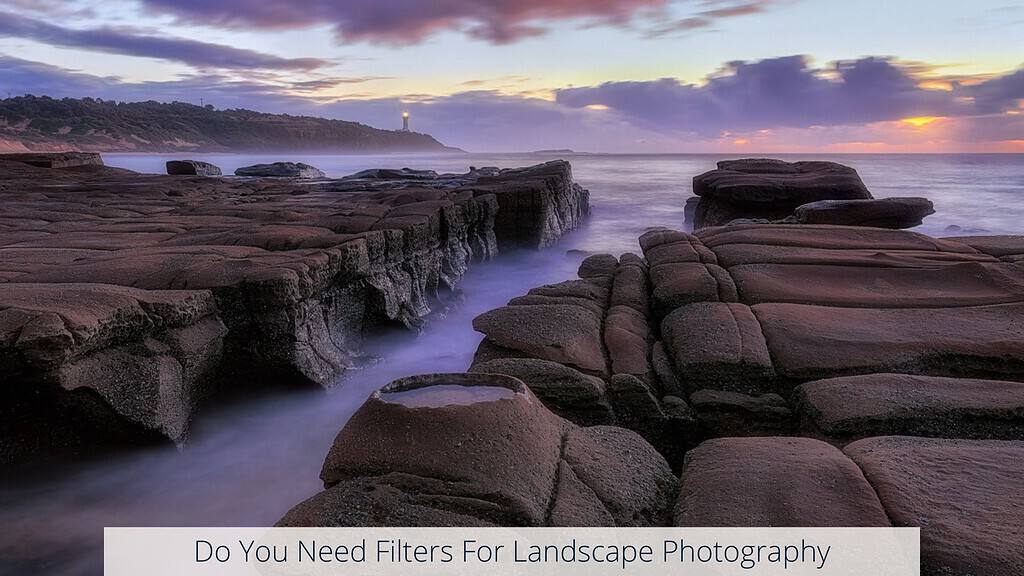
Filters
Filters are accessories that can be attached to the front of a lens to modify the light entering the camera.
They serve various purposes, from reducing glare and enhancing colours to allowing longer exposure times.
In landscape photography, filters are invaluable tools for controlling light and improving the image quality directly in-camera, reducing the need for extensive post-processing.
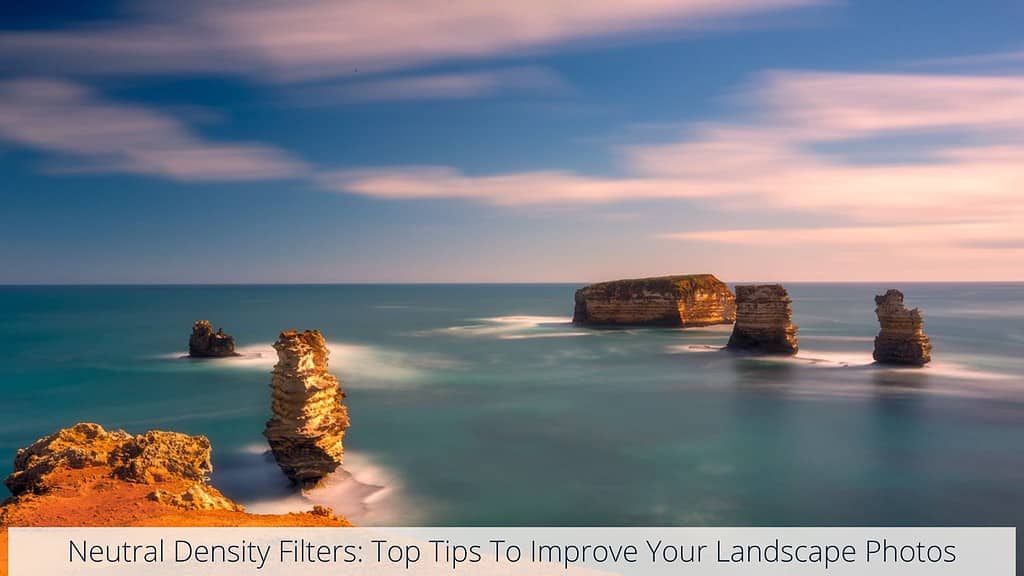
Graduated Neutral Density (GND)
Graduated Neutral Density filters are half clear and half neutral density, allowing for the balancing of exposure between a bright sky and a darker landscape.
They are perfect for sunrise or sunset shots, where the contrast between the sky and the ground is significant, helping to ensure both are exposed correctly.
Ultraviolet (UV)
Ultraviolet filters were traditionally used to reduce haze and blue cast from UV light in film photography.
While digital sensors are less sensitive to UV light, these filters are still used today to protect the lens surface from scratches, dust, and moisture, without affecting the exposure of digital images.
Focus Stacking
Focus Stacking is a technique where multiple images are taken at different focus points and then combined in post-processing to create a photo with greater depth of field than could be achieved in a single shot.
This is particularly useful in landscape photography for ensuring everything from the foreground to the background is in sharp focus, enhancing the overall detail and impact of the image.
Mark Denny has a great video on Focus Stacking if you’d like to delve a little deeper into this:
Full Frame versus Crop Sensor
Full Frame versus Crop Sensor refers to the size of the camera’s image sensor.
Full-frame sensors are the same size as a 35mm film frame and offer superior image quality and wider field of view, making them ideal for landscape photography.
Crop sensors are smaller, which means they have a crop factor that magnifies the scene, useful in some scenarios but generally offering a narrower angle of view and less low-light capability compared to full frame.
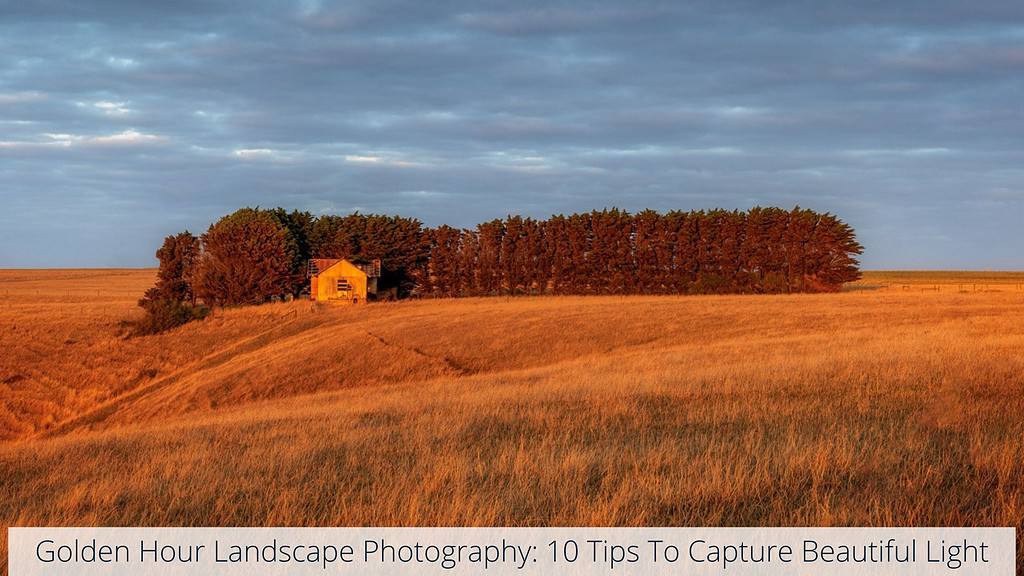
Golden Hour
Golden Hour is the period shortly after sunrise or before sunset, where the light is softer and warmer, casting beautiful, diffuse light and long shadows.
This time is prized in landscape photography for its ability to add a magical, golden glow to scenes, enhancing textures, colours, and the overall mood of the photograph.
Histogram
Histogram is a graphical representation of the tonal values of your photo, from dark (left side) to bright (right side).
Understanding how to read the histogram helps in evaluating the exposure of a landscape shot, ensuring that you capture as much detail as possible without clipping shadows or highlights.
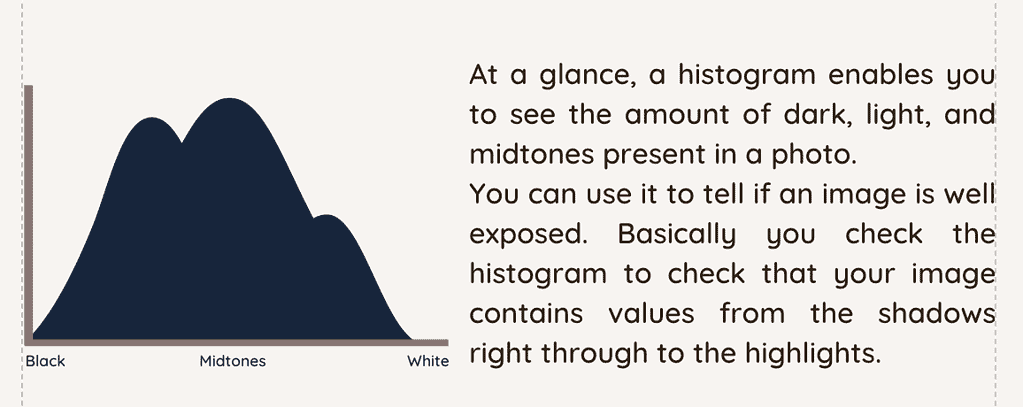
Image Sensor
Image Sensor is the part of the camera that captures light and converts it into an image.
In landscape photography, the size and quality of the sensor are crucial because they influence the image’s detail, dynamic range, and performance in different lighting conditions.
Full-frame sensors are larger and often preferred for their ability to capture more light and detail, while crop sensors have a smaller physical size, affecting the field of view and magnification of lenses.
JPEG
JPEG (Joint Photographic Experts Group) is a common image file format that compresses photos to save space, making it convenient for sharing and storing.
However, this compression can lead to a loss of image quality and detail, especially noticeable in landscape photography when editing.
Many photographers prefer shooting in RAW to retain the maximum amount of information for post-processing before converting to JPEG for sharing.
Lens Flare
Lens Flare occurs when direct light enters the lens and scatters, creating bright spots or streaks across the image.
While often avoided as it can reduce contrast and detail, lens flare can also be used creatively in landscape photography to add a sense of atmosphere or mood to the scene.
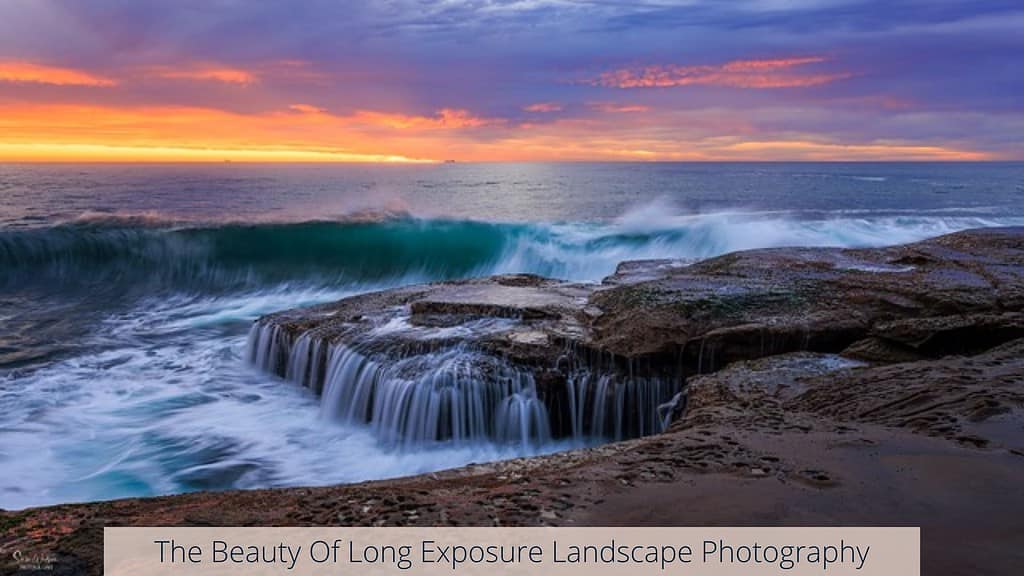
Long Exposure
Long Exposure involves using a slow shutter speed to capture a scene over more extended periods, allowing moving elements like water or clouds to blur while keeping stationary objects sharp.
This technique is popular in landscape photography for creating dramatic, dreamy effects that emphasise the flow of water or the movement of the sky.
Megapixels
One of the landscape photography terms that many photographers place a lot of importance on!
Megapixels refer to the resolution of the camera’s sensor, measured in millions of pixels.
More megapixels can provide greater detail, allowing for larger prints or more cropping flexibility without losing quality.
However, for most landscape photography, the quality of those pixels (e.g., sensor size, dynamic range) is often more important than the sheer number.
Noise/Grain
Noise/Grain refers to the small flecks of random colour or brightness in an image, often visible in photos taken at high ISO settings or in low light conditions.
In landscape photography, noise can detract from the detail and clarity of the scene.
However, a small amount of grain can sometimes add a desired texture or mood to the image, depending on the artistic intention.
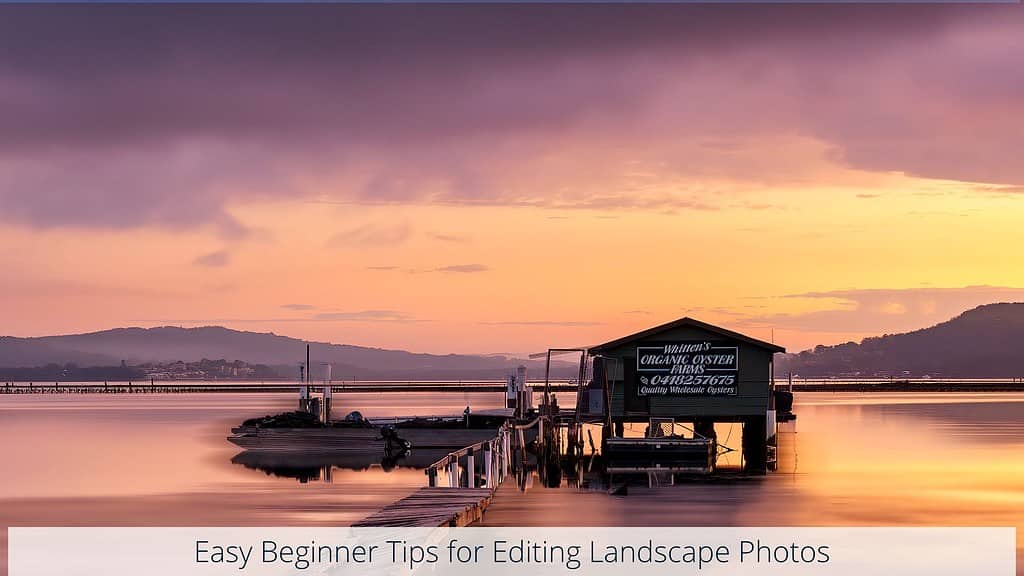
Post Processing
Post Processing is the act of editing your photos after they have been taken, using software to adjust various aspects such as exposure, colour balance, and sharpness.
For landscape photographers, post-processing is a critical step in the workflow, allowing you to refine your images to match your vision, correct any exposure or colour issues, and bring out the best in your captures.
Prime versus Zoom Lens
Prime/Zoom Lens distinction is between lenses with a fixed focal length (prime) and those with a variable focal length (zoom).
Prime lenses often offer superior sharpness and larger apertures, making them excellent for capturing detailed landscapes with beautiful bokeh effects.
Zoom lenses provide more flexibility in composition without needing to change your position, ideal for adapting quickly to changing landscapes.
RAW
RAW is a file format that captures all image data recorded by the camera’s sensor when you take a photo.
Shooting in RAW allows for greater flexibility in post-processing, as these files contain more information than JPEGs, enabling more significant adjustments to exposure, white balance, and detail without loss of quality.
For landscape photography, shooting in RAW is highly recommended to ensure the highest possible quality and control over the final image.
White Balance
White Balance adjusts the colours in your image to make them appear more natural under different lighting conditions.
It compensates for the colour temperature of light sources, from the warm glow of sunrise to the cool blue of shade.
Correct white balance is crucial in landscape photography to ensure that the colours in your photos accurately reflect the natural beauty of the scene.
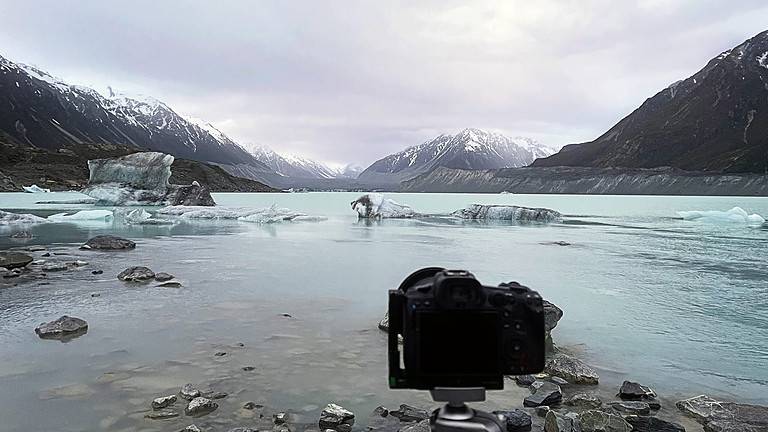
And one last one for fun – Chimping

This is possibly one of my favourite landscape photography terms and one I insist you learn and share lol.
Chimping refers to looking at the LCD screen directly after taking a photo. Chimping is a bit of a joke among photographers, as the term is associated with the “ooh, ahh” noises that photographers sometimes make when looking at an image they’ve just captured.
Conclusion
In wrapping up our guide to landscape photography terms, we’ve laid the groundwork for you to understand and apply key concepts in your photography journey.
These terms, from aperture to white balance, are the building blocks for improving your skills and capturing the landscape scenes you envision.
As you practise and experiment with these concepts, you’ll find your confidence and ability to create compelling images growing. Keep this guide handy as a quick reference, and remember, the best way to learn is by doing.
So head out with your camera and enjoy photographing the beauty around you.
That’s it for now – Keep clicking and sipping 📷 ☕ 🍷
Like this post? PIN it so you can save it for later
Don’t miss a post – sign up Here if you haven’t already